

Got Grains? How to Keep Your Milk Kefir Happy, Bubbly, and Thriving
May 16 | Written By Sabrina Huizar
Milk kefir grains are alive. Like, actually alive — bacteria, yeasts, and all. And just like sourdough starter or a high-maintenance houseplant, they have feelings (or at least, preferences). If you want them to keep giving you that creamy, probiotic-rich goodness every day, it’s worth learning what makes them tick.
Whether you’re just getting started or you’ve been fermenting for a while, here’s how to give your kefir grains the TLC they deserve.
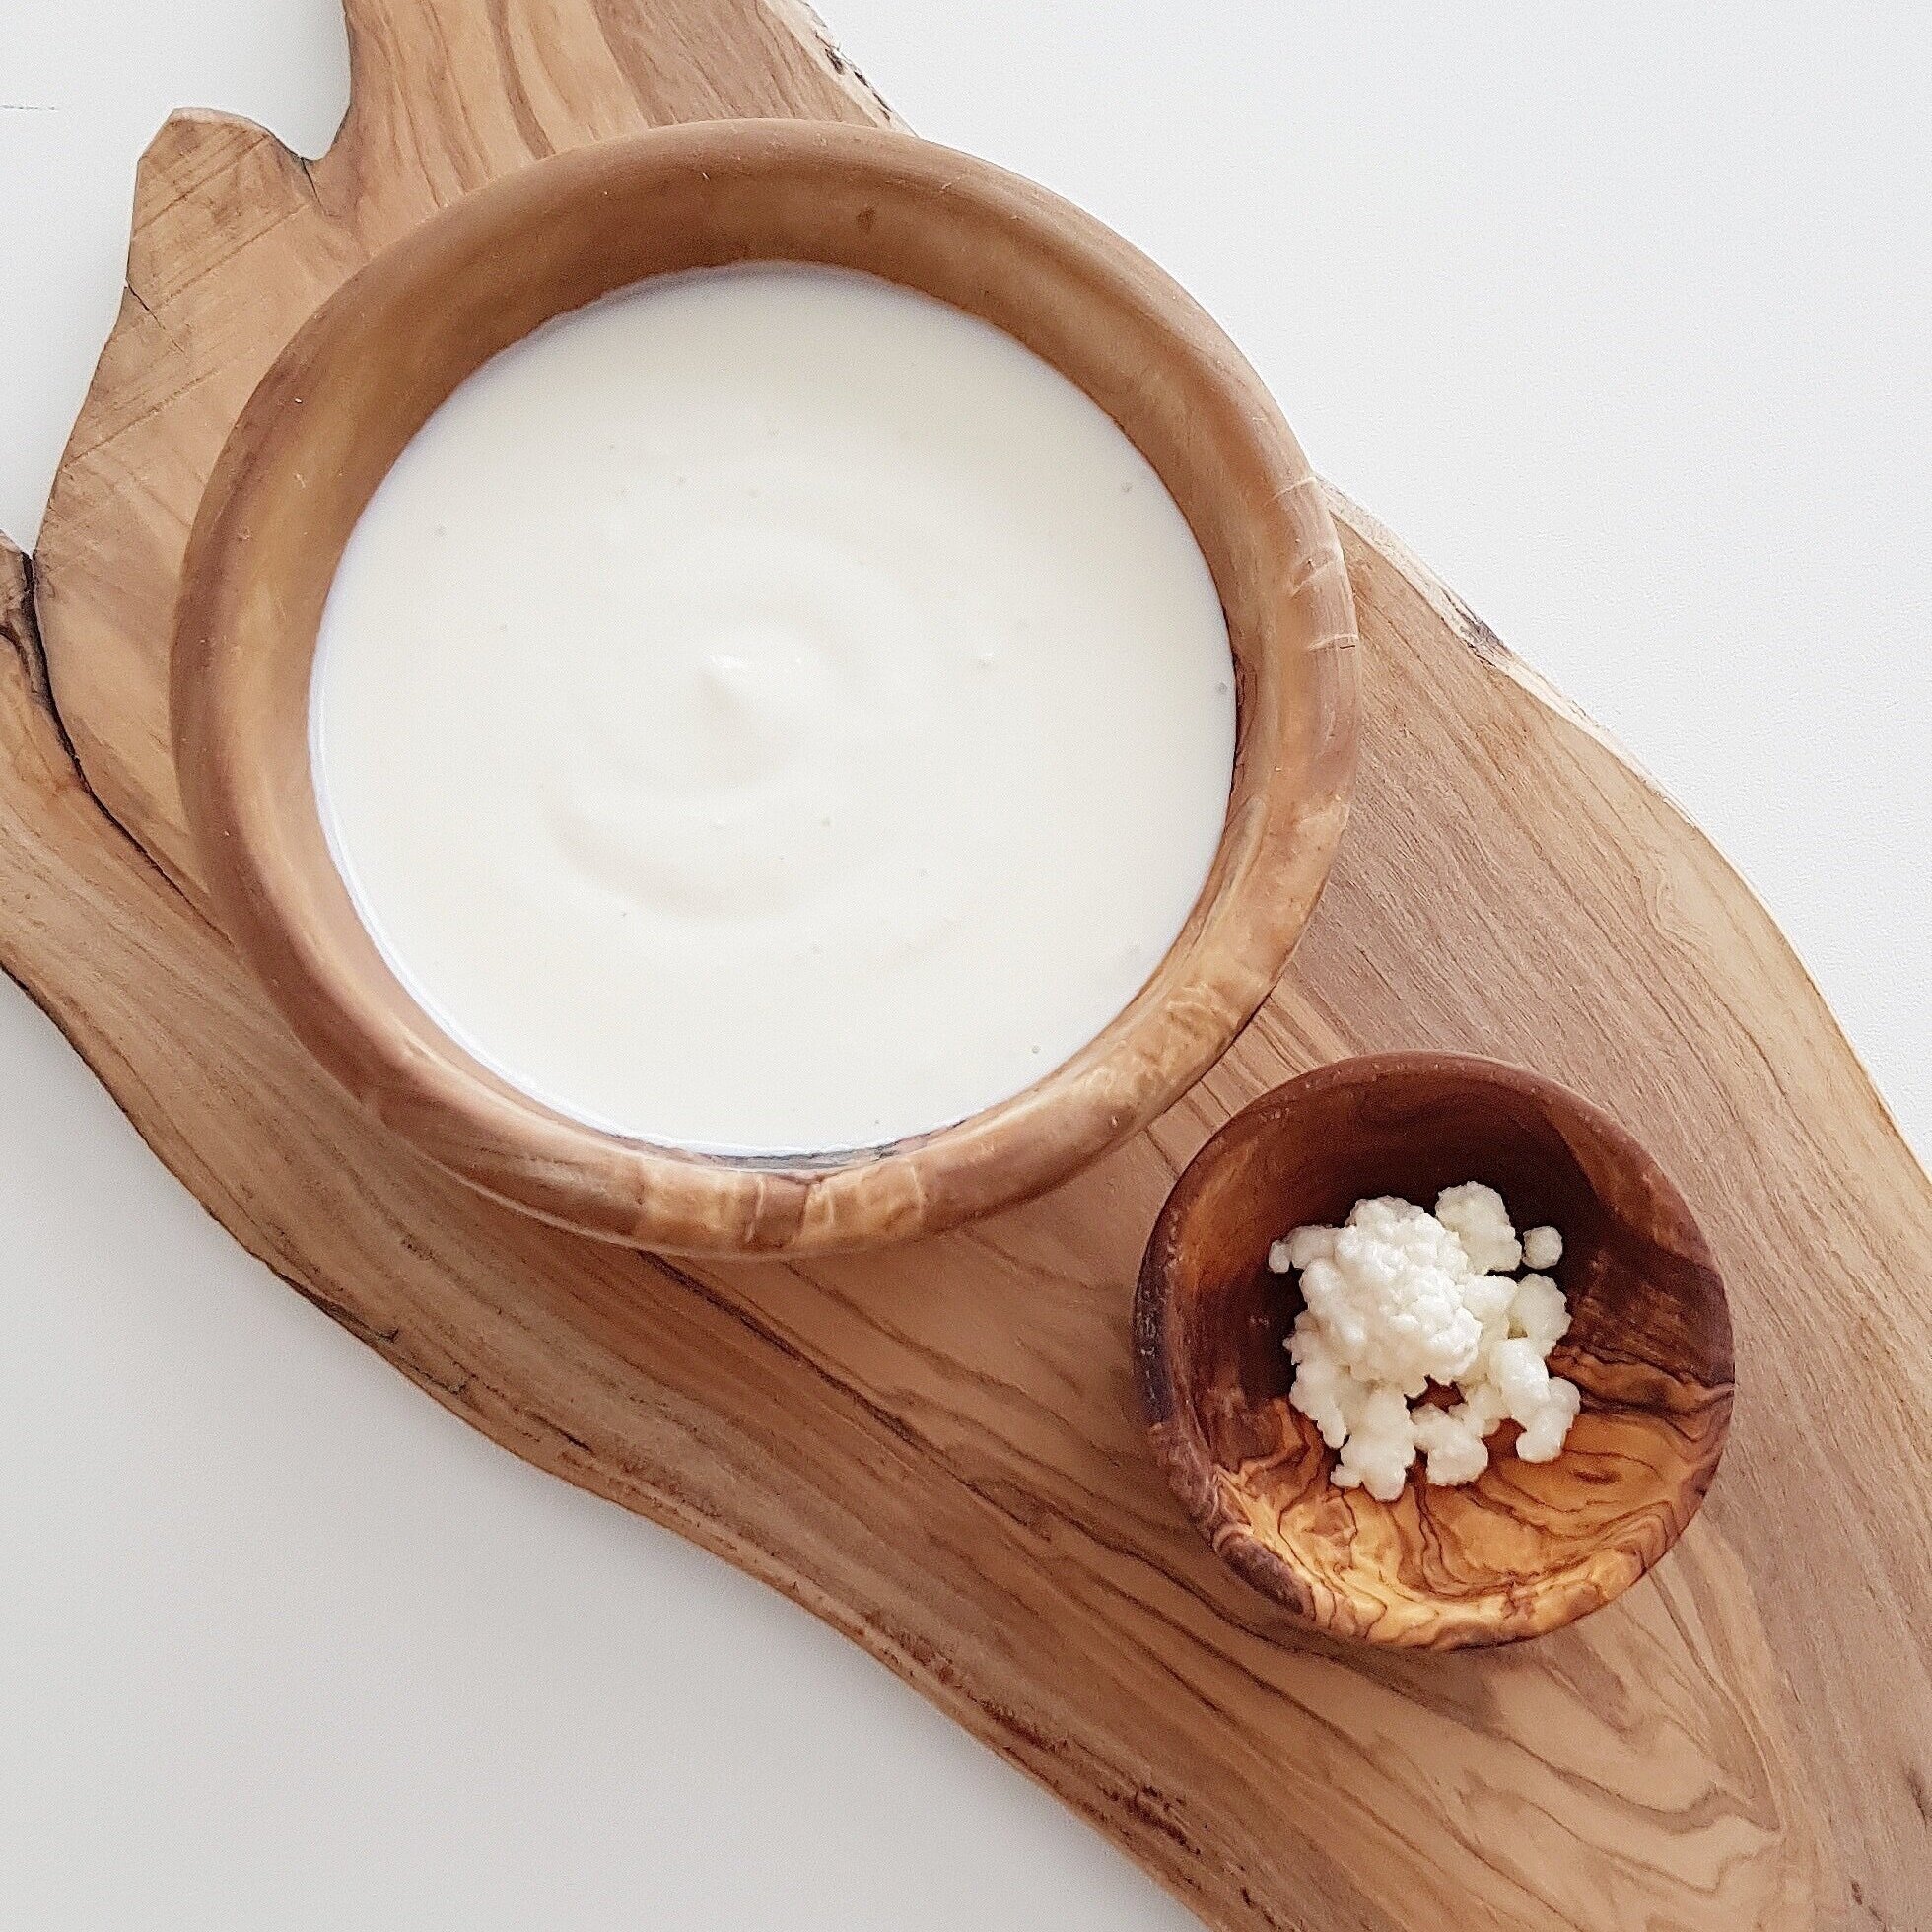
Our Milk Kefir Grains have been carefully sourced from cultures all around the world and blended together to create one of the most diverse and resilient kefir cultures available. The result is a lively, dependable culture that produces rich, tangy kefir full of character.
Milk kefir grains are living colonies of beneficial bacteria and yeasts that work together to ferment milk into a probiotic-rich drink known as kefir. Despite their name, they are not actual grains like wheat or rice. Instead, they resemble soft, jelly-like curds or small cauliflower florets. Milk kefir originates back centuries to the Caucasus Mountains, where kefir has long been cherished as a nourishing fermented milk drink. Traditionally passed down from generation to generation, kefir grains were often considered a treasured household culture.
As the grains ferment the milk, they feed on its natural sugars and transform it into a creamy, lightly tangy beverage with a gentle natural effervescence. The finished kefir is refreshing, complex, and wonderfully nourishing.
With regular care, milk kefir grains can be used indefinitely and will naturally grow and multiply over time, allowing you to continually produce fresh kefir at home. This makes them a favorite among both new fermenters and experienced cultured food enthusiasts.
Simple, traditional, and incredibly rewarding, milk kefir grains make it easy to enjoy fresh homemade kefir while supporting a healthy, balanced gut.
Expect:
• Tangy, creamy probiotic kefir
• Naturally complex flavor with gentle effervescence
• Living grains that grow and multiply over time
• Highly resilient and adaptable culture
• Continuous kefir production with proper care
• Perfect for drinking, smoothies, and cultured recipes
Lively, nourishing, and endlessly reusable, these milk kefir grains produce authentic homemade kefir that quickly becomes a staple in any fermentation kitchen.
1. Feed Them Daily or Close to It
Milk kefir grains like to eat. And their food of choice? Fresh milk. If you’re fermenting daily, you’re already keeping them fed. If not, try to change the milk every 24 hours, or refrigerate them to slow things down (more on that below).
Tip: The fattier the milk, the creamier the kefir.
Grains that are fed consistently will reward you with active, fizzy, and flavorful kefir. If left too long in the same milk, the environment becomes too acidic for them to thrive. It doesn’t hurt to give them a little swirl during the ferment either — it redistributes the grains and helps them access fresh lactose. Think of it like a stir to keep the party going.
2. Ferment at Room Temperature
The ideal temperature is between 68 and 78°F (20 to 25°C). Warmer temps mean faster fermenting (sometimes too fast), while chilly kitchens can stall the process.
Pro move: In winter, keep your jar on top of the fridge or inside the oven with the light on. In summer, you might need to shorten your ferment time or reduce the grains to keep it from separating.
Milk kefir is sensitive to its surroundings. A batch that took 24 hours in winter might be ready in just 12 hours in summer. Watch how quickly it starts to thicken, taste it as it develops, and make a mental note of your ideal fermentation window. Adjust the ratio of grains to milk when needed. A sticky note on the fridge door works great for tracking batches while you learn the rhythm of your kitchen.
3. Use a Loose Lid
Use a loose-fitting lid, cloth cover, fermentation cap, or self-gassing fermentation jar — not a tight seal. Pressure can build and make a mess (ask me how I know).
Kefir is a living, breathing ferment. It produces carbon dioxide as it digests lactose, and that gas needs somewhere to go. If you’re using a swing-top bottle or airtight jar during a second ferment, just be extra cautious and burp it every so often to avoid a kefir volcano.
4. Don’t Let Them Starve in the Fridge
Going on vacation? Not fermenting for a while? Pop your grains into fresh milk and stash them in the fridge. Just remember, they’ll go dormant — not immortal. Change the milk once a week to keep them alive and well.
Bonus tip: You can freeze backup grains in a little milk or dry them for long-term storage.
Grains can nap in the fridge for a bit, but even in cold milk, they slowly run out of food. If they go too long without fresh lactose, they can weaken or die off. Think of refrigeration as a slow-down, not a preservation solution. If you’re taking a longer break, freezing is the way to go. Just give them a few batches to wake back up when you’re ready to culture again.
5. Watch for Signs of Trouble
Too sour? Try a shorter ferment or a cooler location.
Too thin? Check the temperature. Kefir that ferments on the higher end of the spectrum tend to be runny or lumpy.
Separated into curds and whey? That’s fine. It’s just over-fermented. Stir it up very well before straining and enjoy the tang.
Your kefir is always telling you how it’s doing — you just have to know how to listen. A change in texture, color, or smell might mean something’s off. But more often than not, it’s just a minor adjustment in temperature or timing. A gentle stir, a milk refresh, or moving it to a cozier spot on the counter can work wonders. Give it a chance before assuming it’s gone bad.
6. Handle with Care
Avoid metal tools for long contact. A quick stir or straining is totally fine.
7. Skip the Rinse
You really don’t need to rinse your grains in water. It doesn’t help and usually just stresses them out.
Rinsing strips away the helpful biofilm that forms around the grains — that film helps protect them and regulate fermentation. Unless your grains have been contaminated or stored dry and need rehydrating, it’s best to skip the rinse altogether. If they’re stuck together, just give them a gentle break-up with a spoon in fresh milk and let them go back to work.
8. Strain like a boss
Use a fine mesh strainer. Don’t pick them out with a spoon or your fingers. Don’t use a pasta strainer. The holes are just too big and you're losing your baby grains. Nylon mesh is my personal favorite.
9. When in Doubt, Make a Smoothie
Even if your batch gets away from you and turns out extra tart or separated, it’s rarely a waste. Kefir is incredibly versatile. Add it to smoothies, salad dressings, pancake batter. Embrace the wild side — that’s where the good microbes hang out anyway.
Final Thoughts
Milk kefir is wonderfully forgiving once you get into the rhythm of it. Your grains will multiply over time, and with a little attention, they’ll last for years. Treat them like the little probiotic pets they are, and they’ll thank you with endless creamy kefir.
From my countertops to yours.
—Sabrina
Our Milk Kefir Grains have been carefully sourced from cultures all around the world and blended together to create one of the most diverse and resilient kefir cultures available. The result is a lively, dependable culture that produces rich, tangy kefir full of character.
Milk kefir grains are living colonies of beneficial bacteria and yeasts that work together to ferment milk into a probiotic-rich drink known as kefir. Despite their name, they are not actual grains like wheat or rice. Instead, they resemble soft, jelly-like curds or small cauliflower florets. Milk kefir originates back centuries to the Caucasus Mountains, where kefir has long been cherished as a nourishing fermented milk drink. Traditionally passed down from generation to generation, kefir grains were often considered a treasured household culture.
As the grains ferment the milk, they feed on its natural sugars and transform it into a creamy, lightly tangy beverage with a gentle natural effervescence. The finished kefir is refreshing, complex, and wonderfully nourishing.
With regular care, milk kefir grains can be used indefinitely and will naturally grow and multiply over time, allowing you to continually produce fresh kefir at home. This makes them a favorite among both new fermenters and experienced cultured food enthusiasts.
Simple, traditional, and incredibly rewarding, milk kefir grains make it easy to enjoy fresh homemade kefir while supporting a healthy, balanced gut.
Expect:
• Tangy, creamy probiotic kefir
• Naturally complex flavor with gentle effervescence
• Living grains that grow and multiply over time
• Highly resilient and adaptable culture
• Continuous kefir production with proper care
• Perfect for drinking, smoothies, and cultured recipes
Lively, nourishing, and endlessly reusable, these milk kefir grains produce authentic homemade kefir that quickly becomes a staple in any fermentation kitchen.
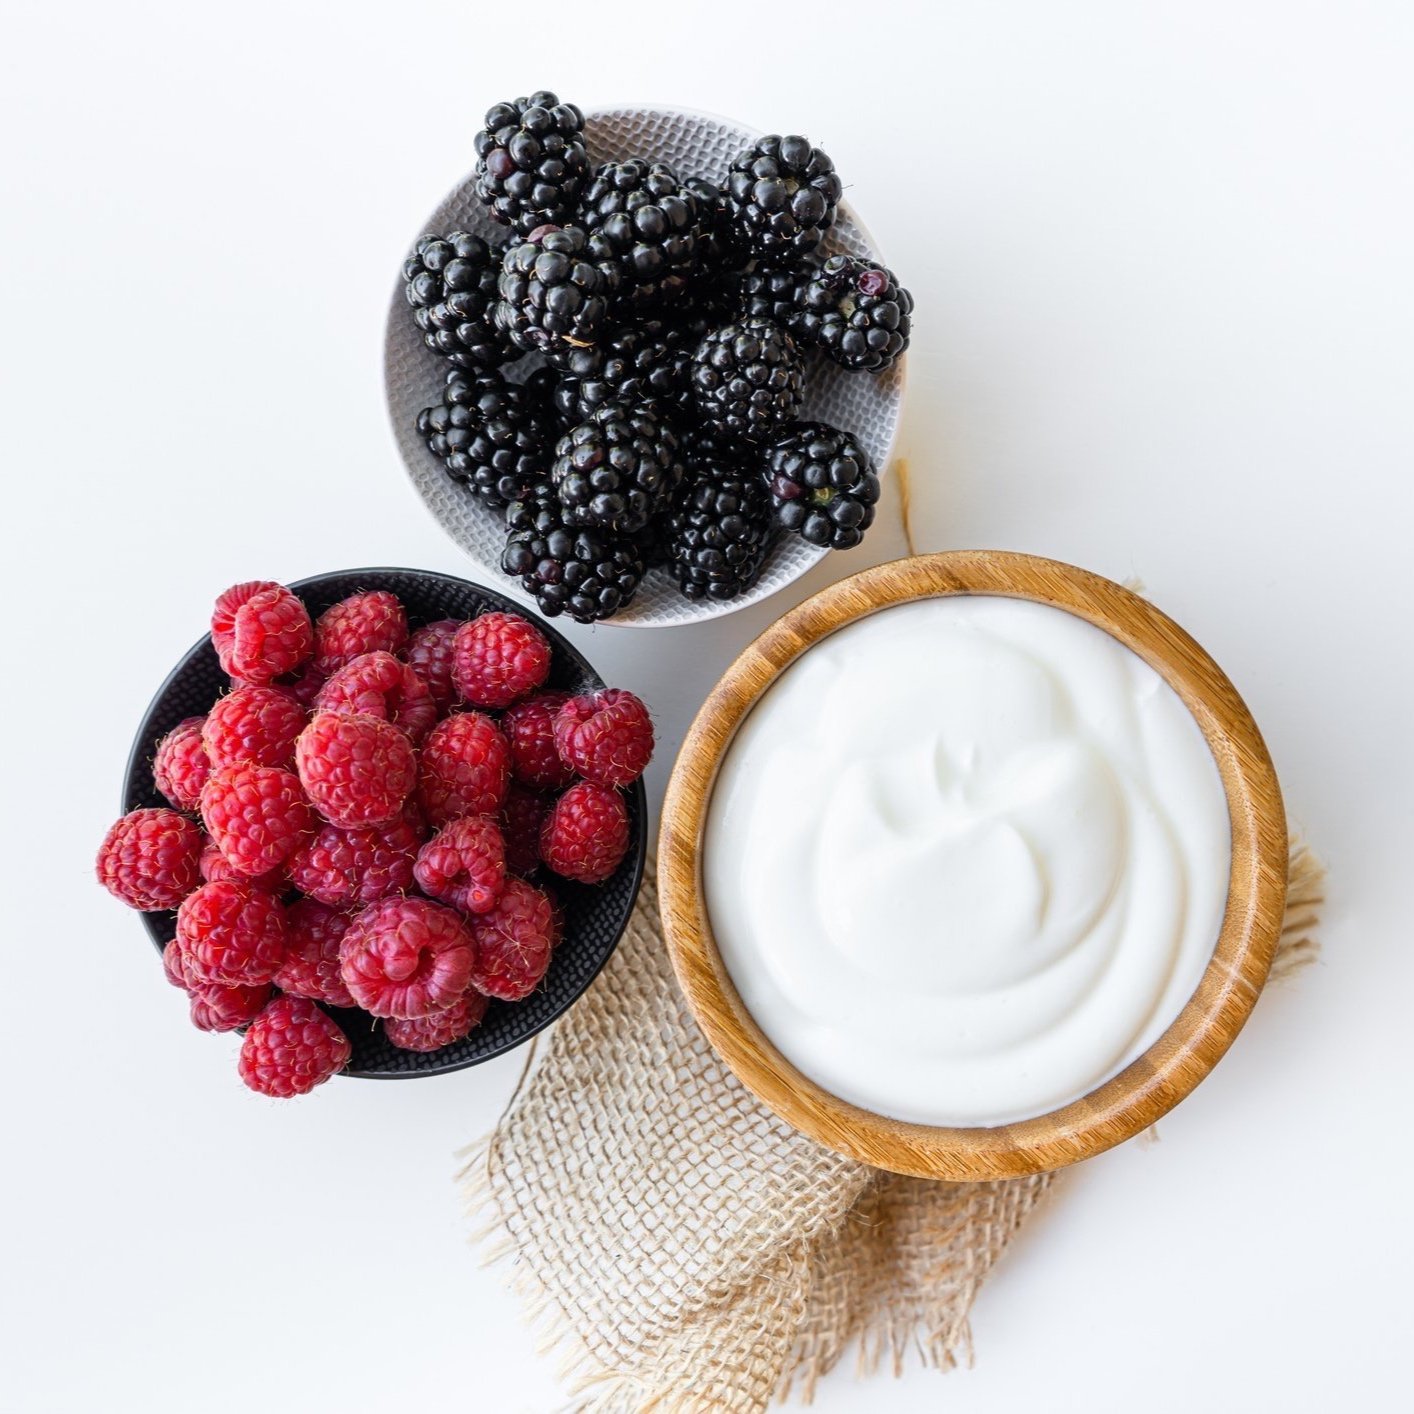
Our California Greek Thermophilic Yogurt Culture produces a rich, creamy Greek-style yogurt with a bright, refreshing tang and a beautifully smooth texture.
When cultured, this yogurt develops a luxurious body and balanced flavor that feels both indulgent and refreshing. It can be enjoyed as-is for a creamy spoonable yogurt or strained further to achieve the classic thick Greek-style consistency known for its higher protein content.
The flavor is lively and clean with just the right amount of tang to keep it refreshing without being overly sharp. It’s wonderful for breakfast bowls, fruit parfaits, sauces, dips, baking, or simply enjoyed straight from the jar.
Reliable, delicious, and wonderfully versatile, this culture is one of our favorite Greek-style yogurts for everyday fermentation.
Expect:
• Thick, creamy Greek-style yogurt
• Bright, refreshing tang
• Smooth, rich texture
• Reliable thermophilic fermentation
• Can be strained for an ultra-thick Greek yogurt
• Perfect for both sweet and savory dishes
Creamy, lively, and incredibly satisfying, this California Greek yogurt culture makes homemade Greek yogurt an everyday delight.
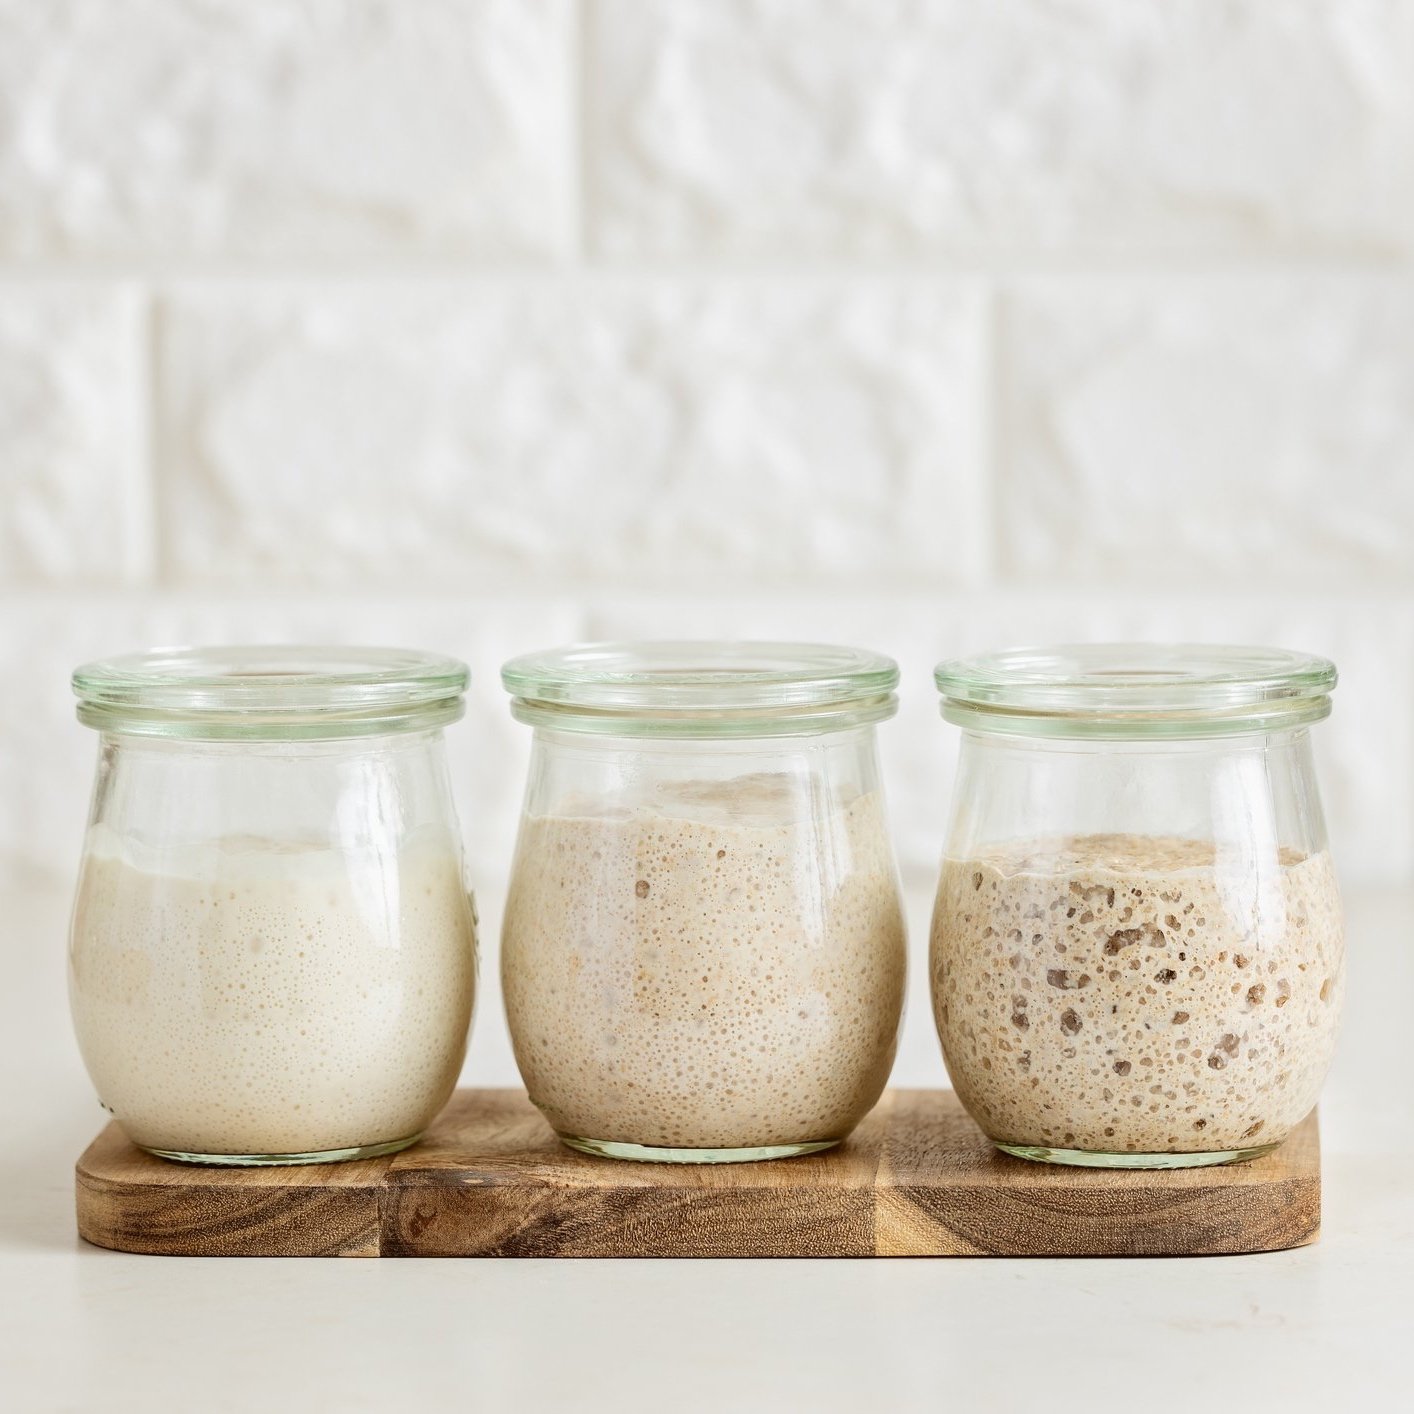
Our San Francisco “Fisherman’s Wharf” Sourdough Starter captures the unmistakable character of the famous sourdough breads that have made San Francisco baking legendary. Known for its lively fermentation and classic tangy flavor, this starter produces loaves with the signature taste many people associate with the city’s historic bakeries.
San Francisco sourdough has long been celebrated for its unique flavor profile, shaped by the coastal climate and traditional fermentation methods used by generations of bakers. This starter brings that same spirit into your kitchen, delivering the bold, aromatic character that sourdough lovers recognize immediately.
The finished breads develop a beautifully balanced tang, with a chewy yet tender crumb and a crisp crust that makes every slice memorable. The flavor is vibrant and satisfying—perfect for rustic loaves, sandwich bread, and the classic sourdough boules that feel right at home on a soup-and-salad table.
Each bake evokes the experience of strolling along Fisherman’s Wharf, where the aroma of fresh sourdough fills the air and warm loaves are enjoyed with butter, chowder, or simply on their own.
Simple, lively, and full of West Coast character, this starter makes it easy to bring the spirit of San Francisco sourdough baking into your kitchen.
Expect:
• Classic San Francisco-style sourdough tang
• Perfect for boules, sandwich loaves, and artisan breads
Bold, nostalgic, and wonderfully flavorful, this starter produces sourdough breads that capture the iconic taste of San Francisco baking.