

Hard Tack and Oyster Crackers
Feb 1 | Written By: Allie Faden
Most of this recipe is really going to be pictures and captions, so you can see the process. It turns out that the dough you use for hard tack is the same as you can use for oyster crackers! Well, you can in my house at least, and possibly soon in some of y’all’s!
I think hard tack is fun to make, and it’s a lovely way to store flour for potentially hundreds of years. I am also aware that a lot of people in my life are currently looking for ways to inexpensively stock their pantries. Specifically, in a way that allows them to feel comfortable in the knowledge that they have some properly long-term, not from Mountain House or a freeze dried kit (no shade) food storage in their house. Due to rising food (and other) costs, a lot of people I know are worried about that type of longer-term security. This is one such way to have that, in tandem with whatever else you’re up to.
If you have kids, this could be a fun activity since this food (and similar foods) was routinely made and consumed for at least half of the U.S.’s history, and has been used in some other nations going back thousands of years.
I’m making it mostly because it’s fun, if you wondered, and accordingly am sharing with y’all. All of that said, I believe I have 2 quart-sized jars in my pantry of hard tack (could be 3), and that’s plenty good for the types of recipes I’d like to use it for over the next year or two. So! I’m all oyster crackers with this method from here on out for the foreseeable future.
It should be noted that I am technically making ship’s biscuits, not hard tack. The difference is the shape, so I will largely use the terms interchangably. Hard tack is cut in squares (fits better in bags and crates), whereas ship’s biscuits are cut round so they fit better in the barrels commonly found on ships for storing foodstuffs. You can cut them however you want! I would avoid star shaped biscuits and similar, because will be harder for you to avoid burning those corners. The thinner your corner is, the more likely it is to burn. Haven’t tested this myself, but it is my experience with other star/similar shaped baked goods.
I am basically never going to give up an opportunity to post a Townsends video, because I love them. This video will tell those of you who want a bunch more info what you need to know!
I’m making ship’s biscuits because I use a donut cutter for most things that require this type of cutting. Also, they fit neatly in mason jars.
Also, it should be noted that this is not so much of a war/prepper thing to make as it may seem, although it certainly can be treated that way. All you are really doing here is creating a product that allows you to store your flour in a more portable and long-term way that can be ground back into flour and salt or be used as is, or in recipes for foods that you would like to eat. You can decide if you want the salt, though I will still urge you to do so for flavor purposes (plus salt is a preservative). I’ll toss some recipes for using these down in the bottom for y’all.
I’m gonna go back and forth on what I call these little breads, so just know that.
Safety First!
Please do not try to just bite into these. People do and have broken teeth on them. They’re super shelf stable bricks because there’s literally no moisture in there anymore. Soak them, grind them, break them up, etc. so they’re injury-free food!
It’s all about the ratios!
Hard tack (and oyster crackers) don’t really need a recipe, so much as ratios. Flour:Water here is 8:3, and add a bit of salt.
What does that even mean? As an example, if you use 8 tablespoons (1 cup) of flour, you need 3 tablespoons of water, plus some salt. You use as much or as little salt as you want without interference from me. I personally use about a teaspoon for every 2c of flour. Again, YMMV, so salt the way you want the salt. A half or one cup batch is an excellent place to start, because it isn’t too much to deal with if you don’t like it.
Most of the rest of this post will largely be in pictures, with captions telling you the things you need to know.

Flour and salt mixed together. My family are making me get rid of that little Tupperware measuring cup. It hasn’t had lines on it in years, so I am the only one who knows where the lines are meant to be/can use it. I’m sad about losing this cup, but am so happy about having been gifted this ceramic bowl from someone in my local Buy Nothing group. Expect to see this bowl a lot, moving forward. It’s a phenomenal bowl.
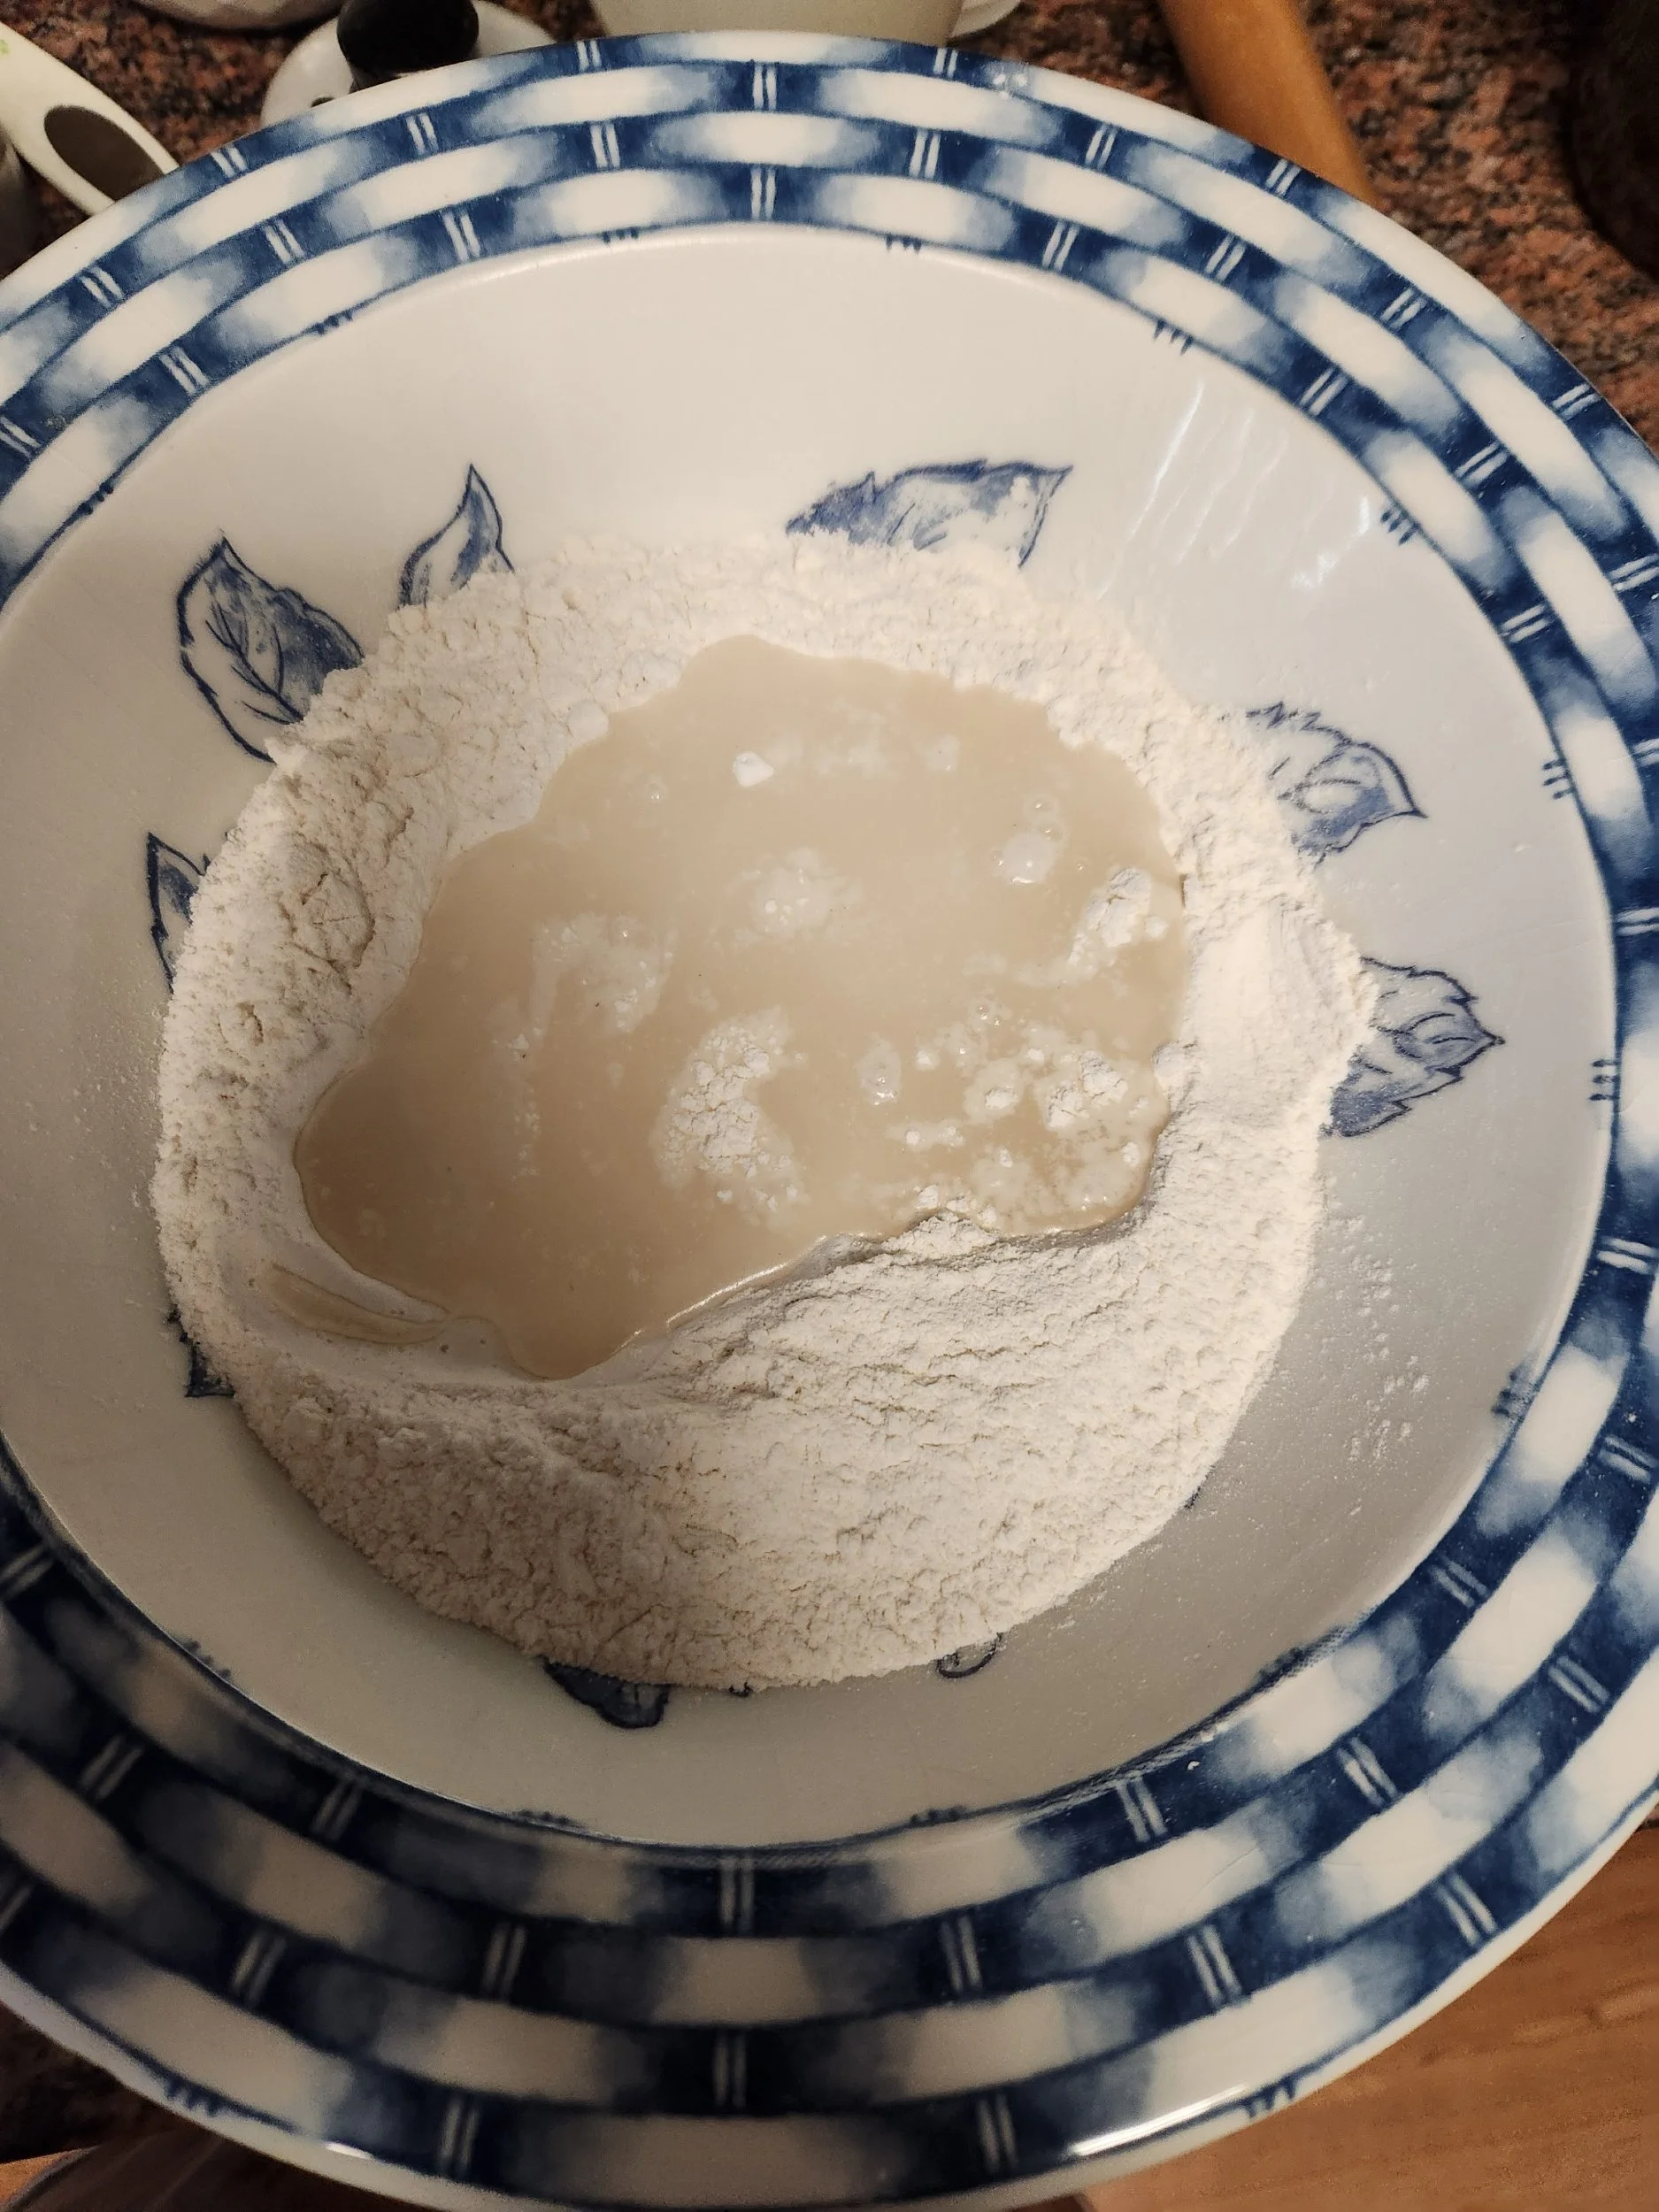
This process reminds me somewhat of making pasta, so I put the water in a well in the center like with pasta.
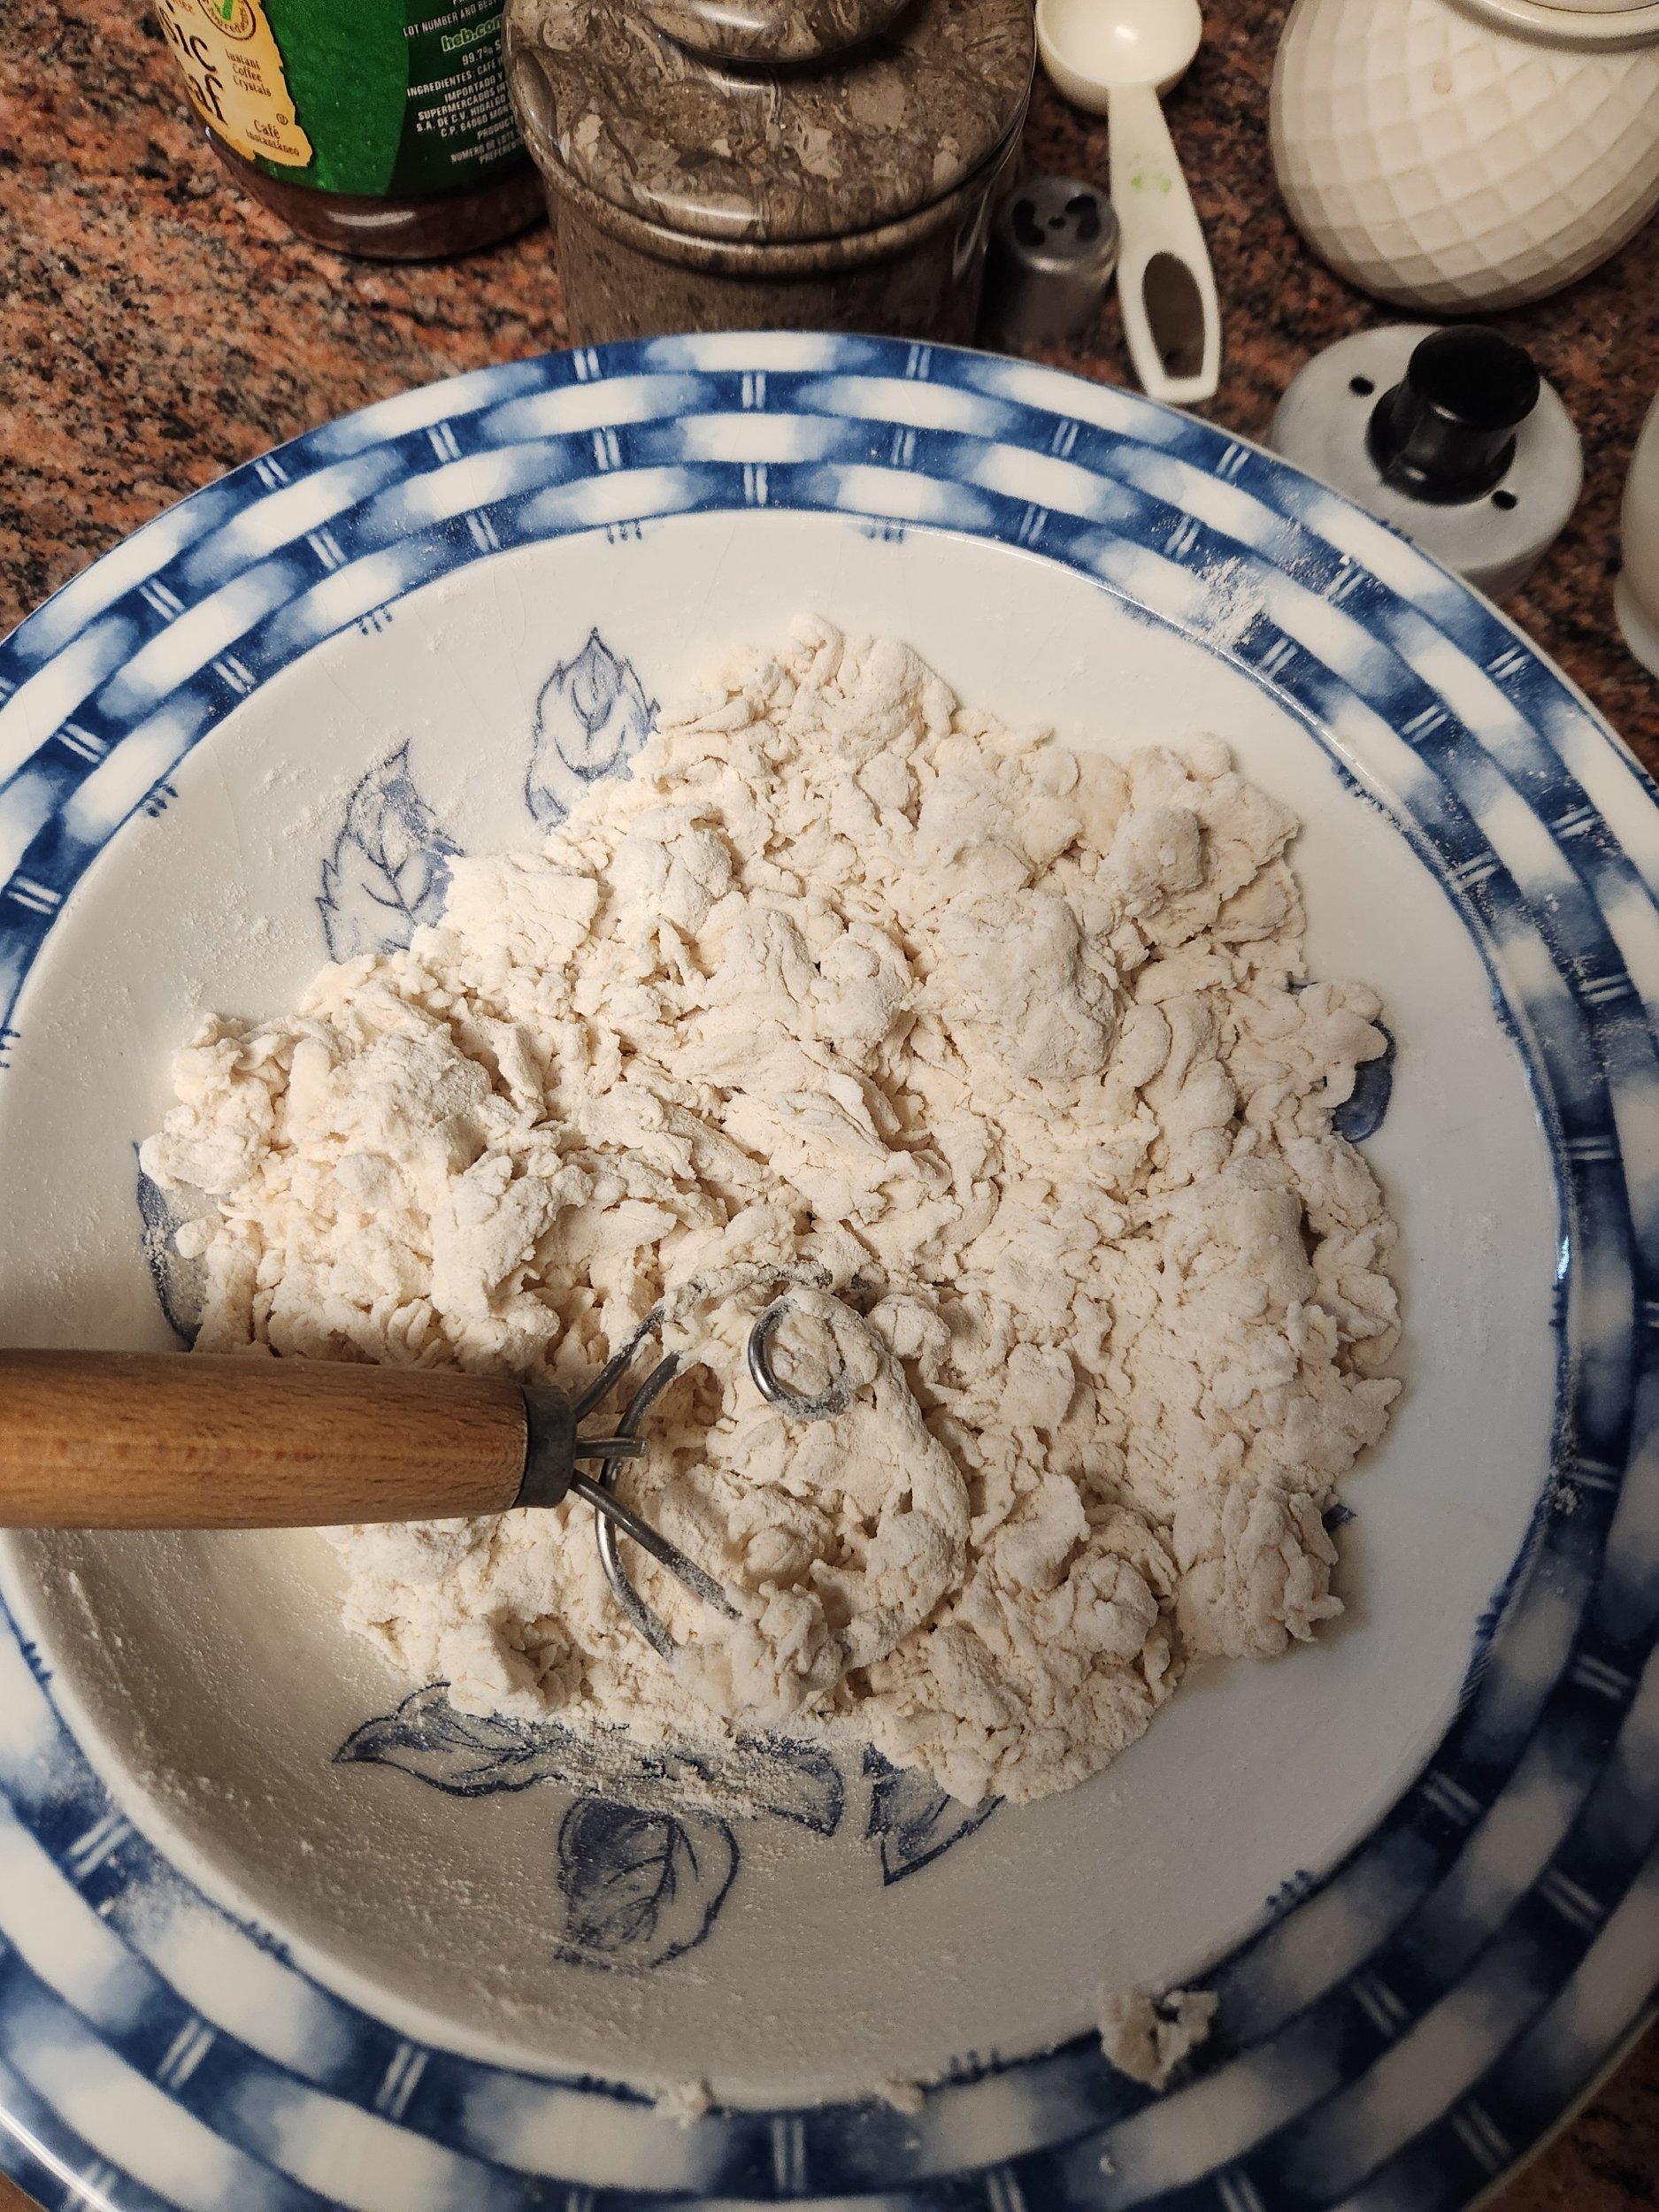
Mix the water in. It’s completely okay if this doesn’t feel like enough water. Once kneaded, this will be a bit sticky. Sticky means you’ve got plenty of water for the job. You can always walk away at this stage for 15-30 minutes to let the dough fully hydrate before you decide if you want to add more water (tiny bit at a time) or to knead it and see what happens. I’m a “see what happens” kind of guy, myself. For the most part.
See? Combined just fine with some kneading. If you find that you’re struggling to get to this point because it really is too dry, add a little more water a teaspoon at a time. I live in a subtropical climate, so it is nearly always humid where I’m at. Those of you in drier climates will want a bit more water. Recipes linked below will showcase that there can be a ton of variance here, since everyone seems to have their own preferred ratio.
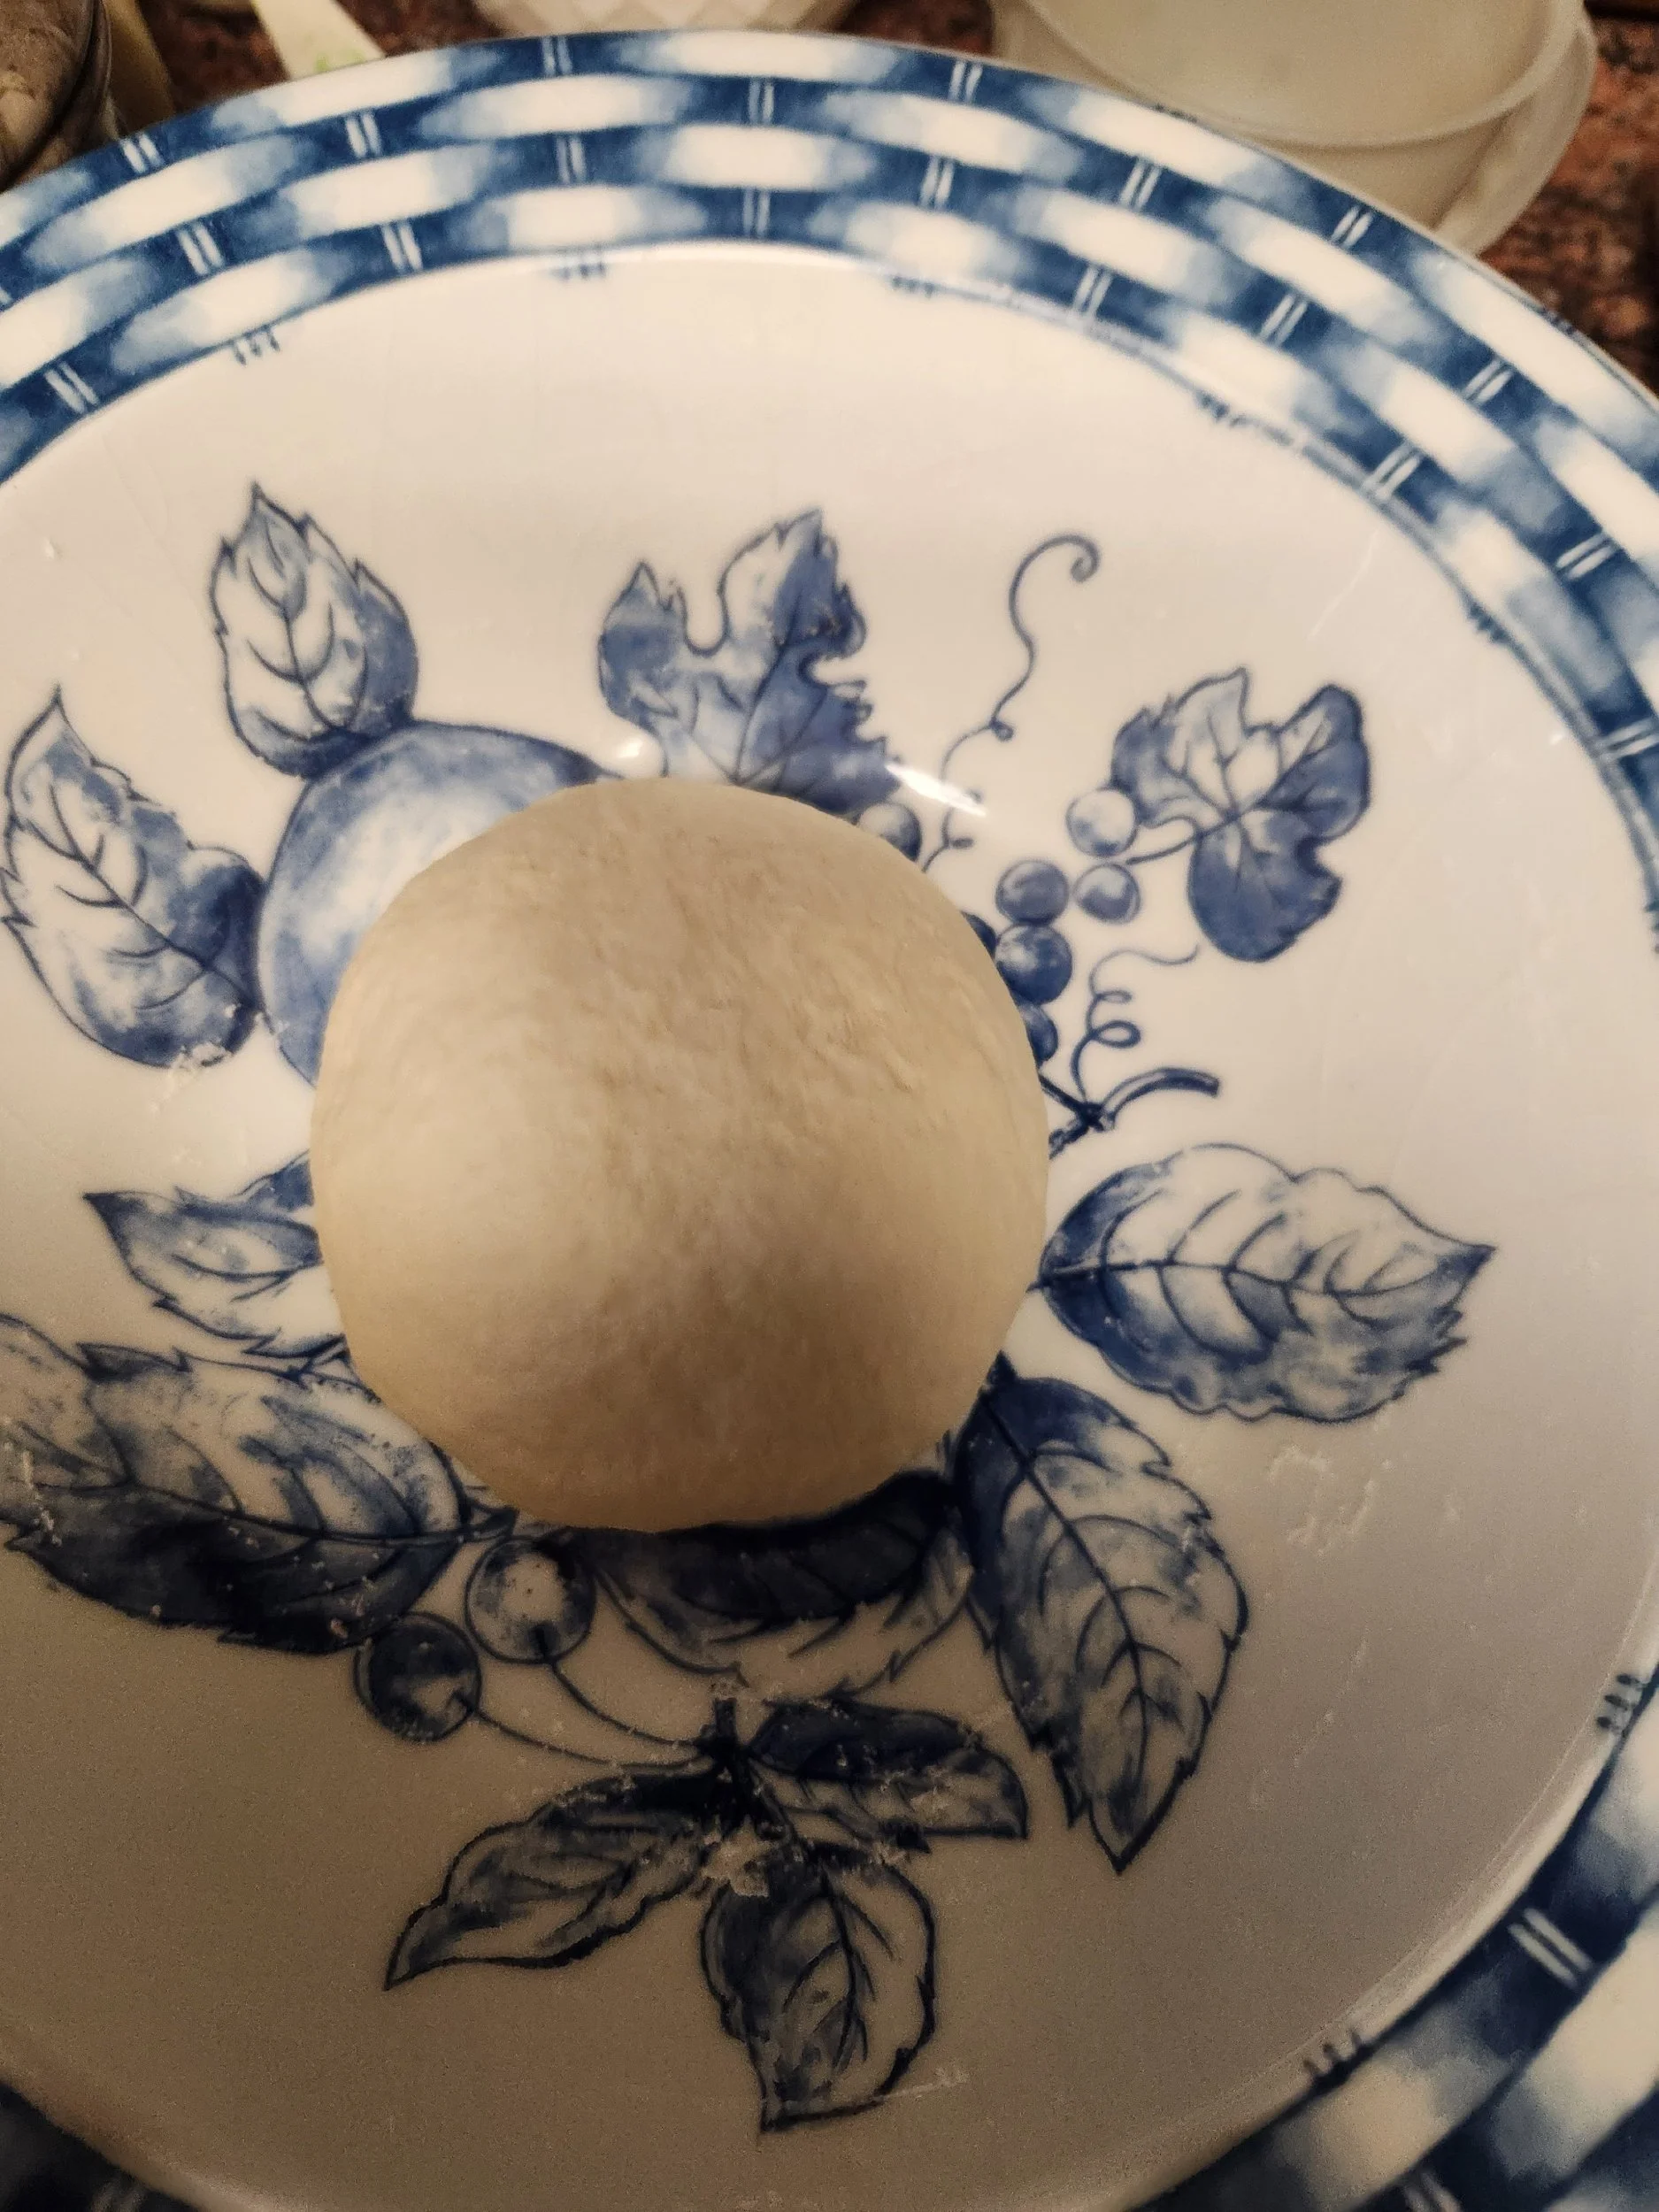
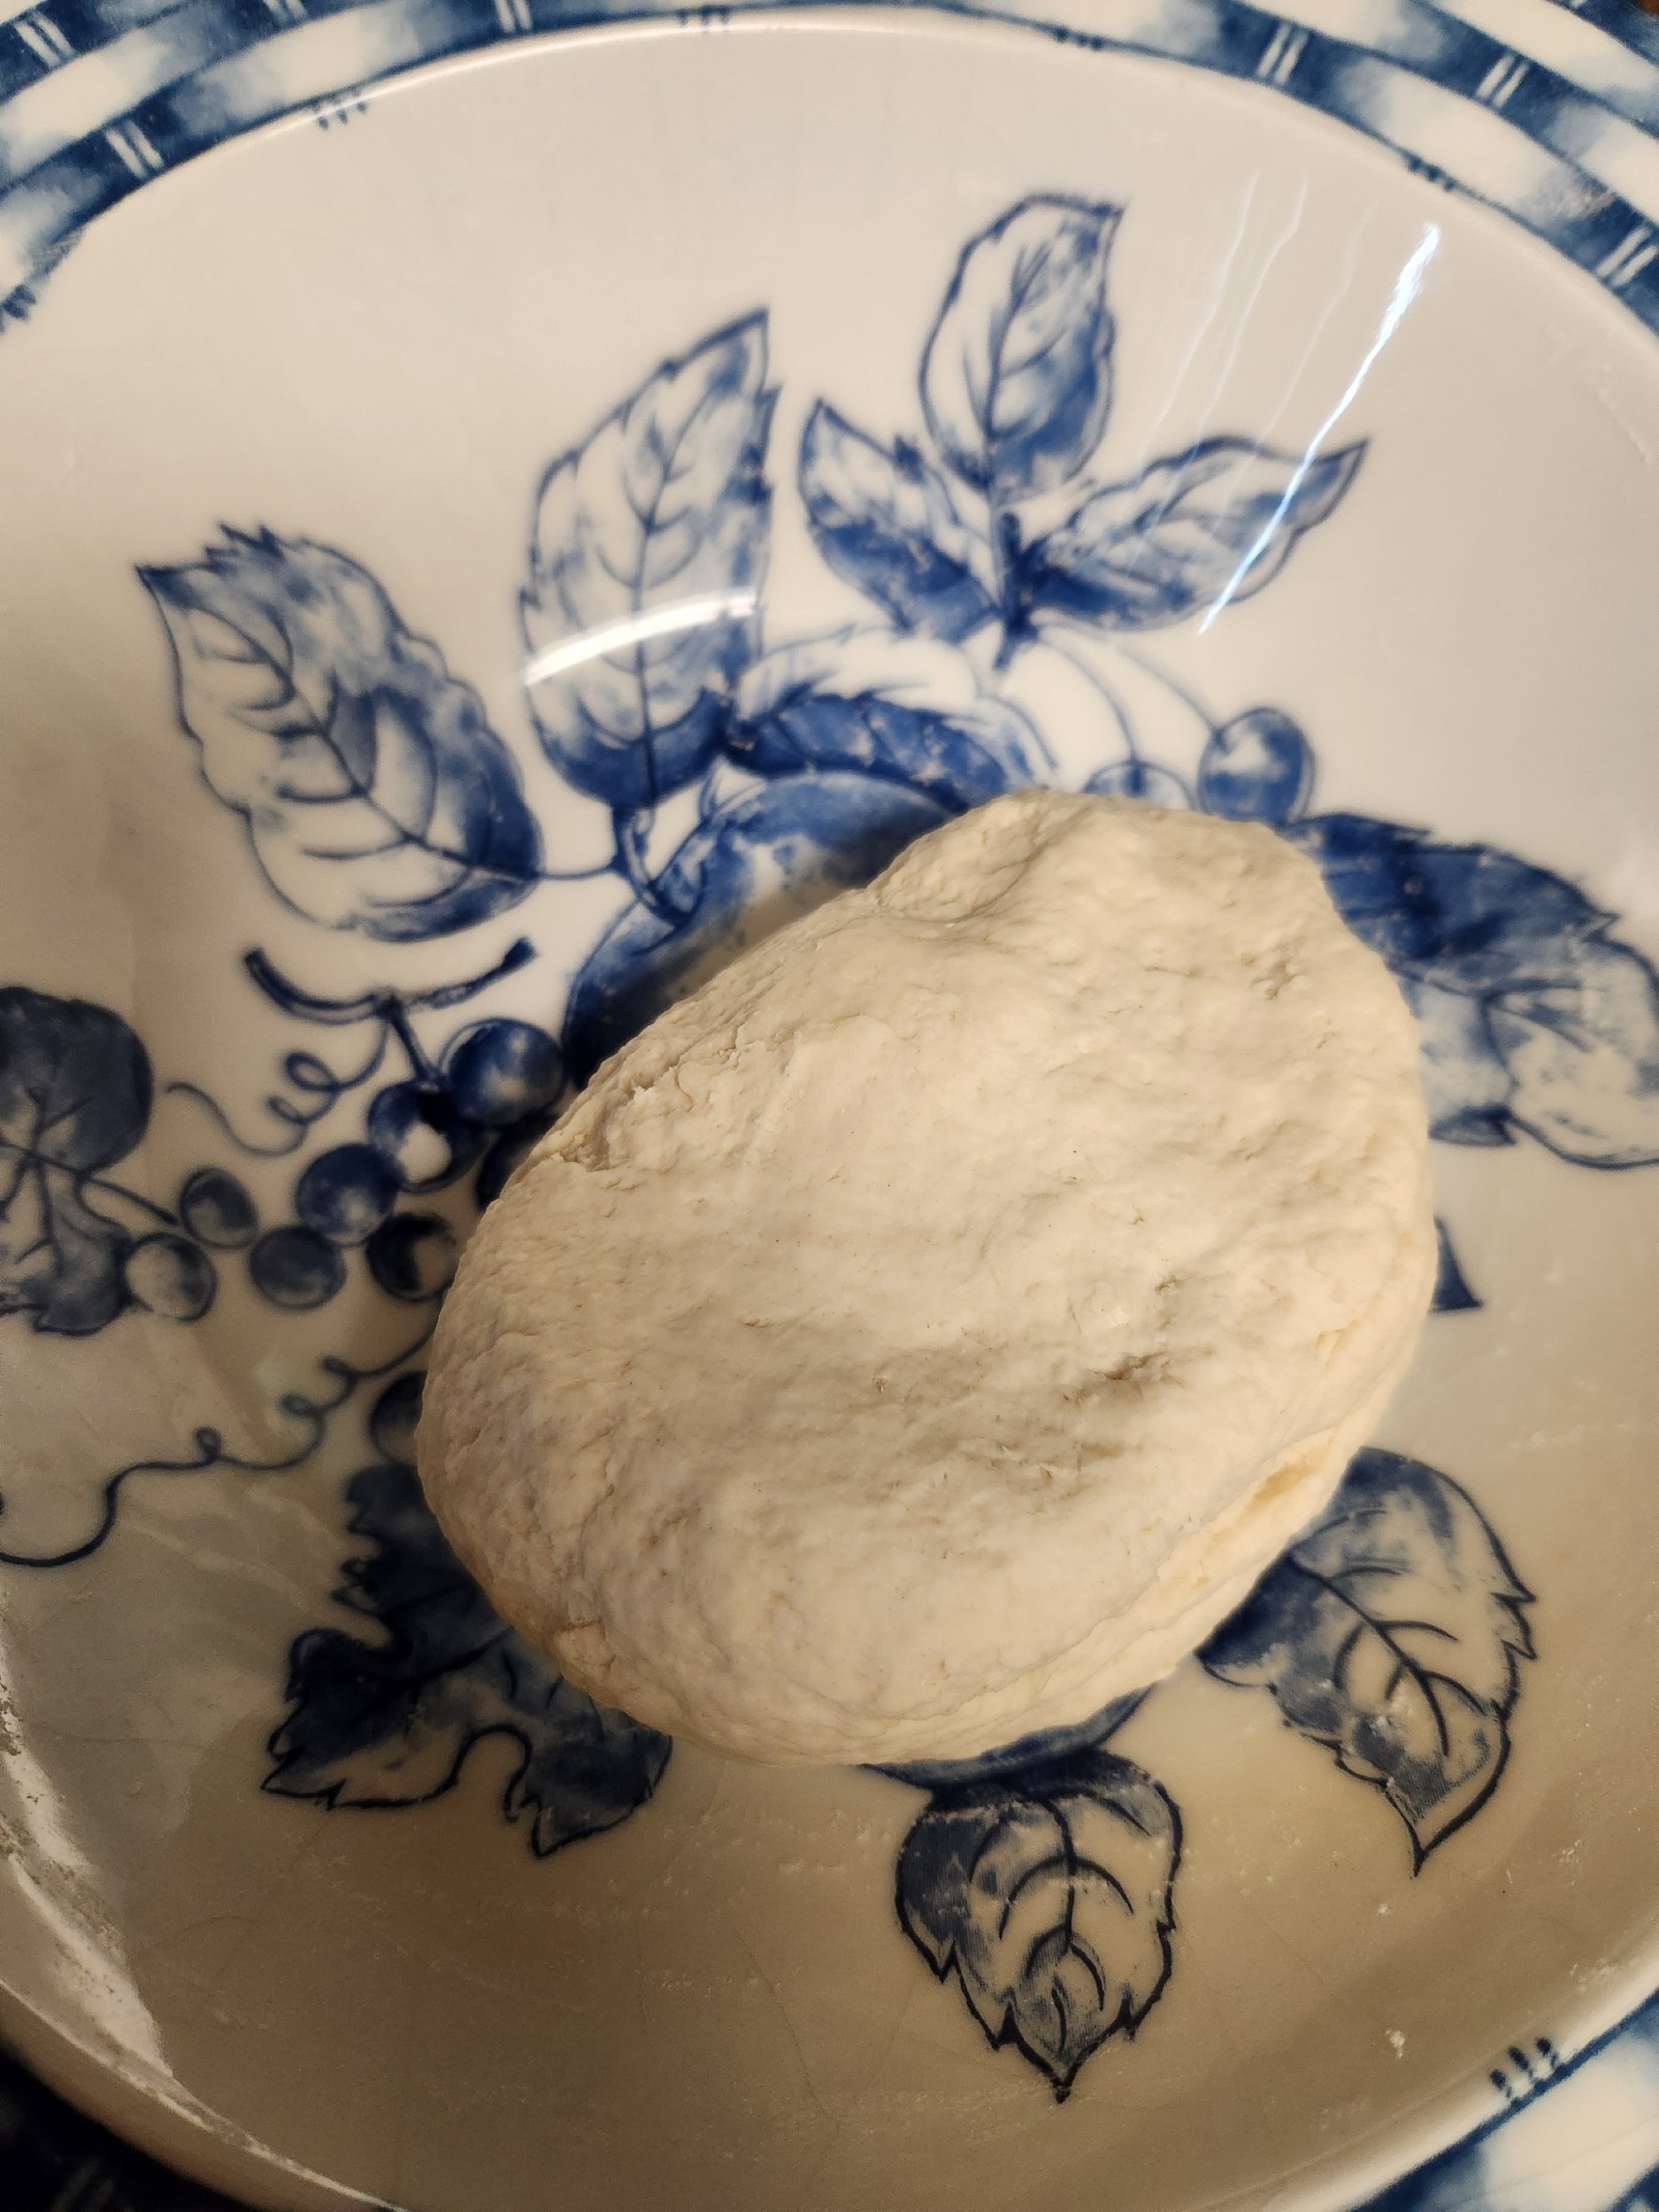
About 10 minutes of kneading (is that “some”?), and it’s largely kneaded. You can stop here if you aren’t a perfectionist. It really doesn’t matter as much if the dough was completely smooth as it would with a loaf you were rising. Tell me my bowl is pretty.
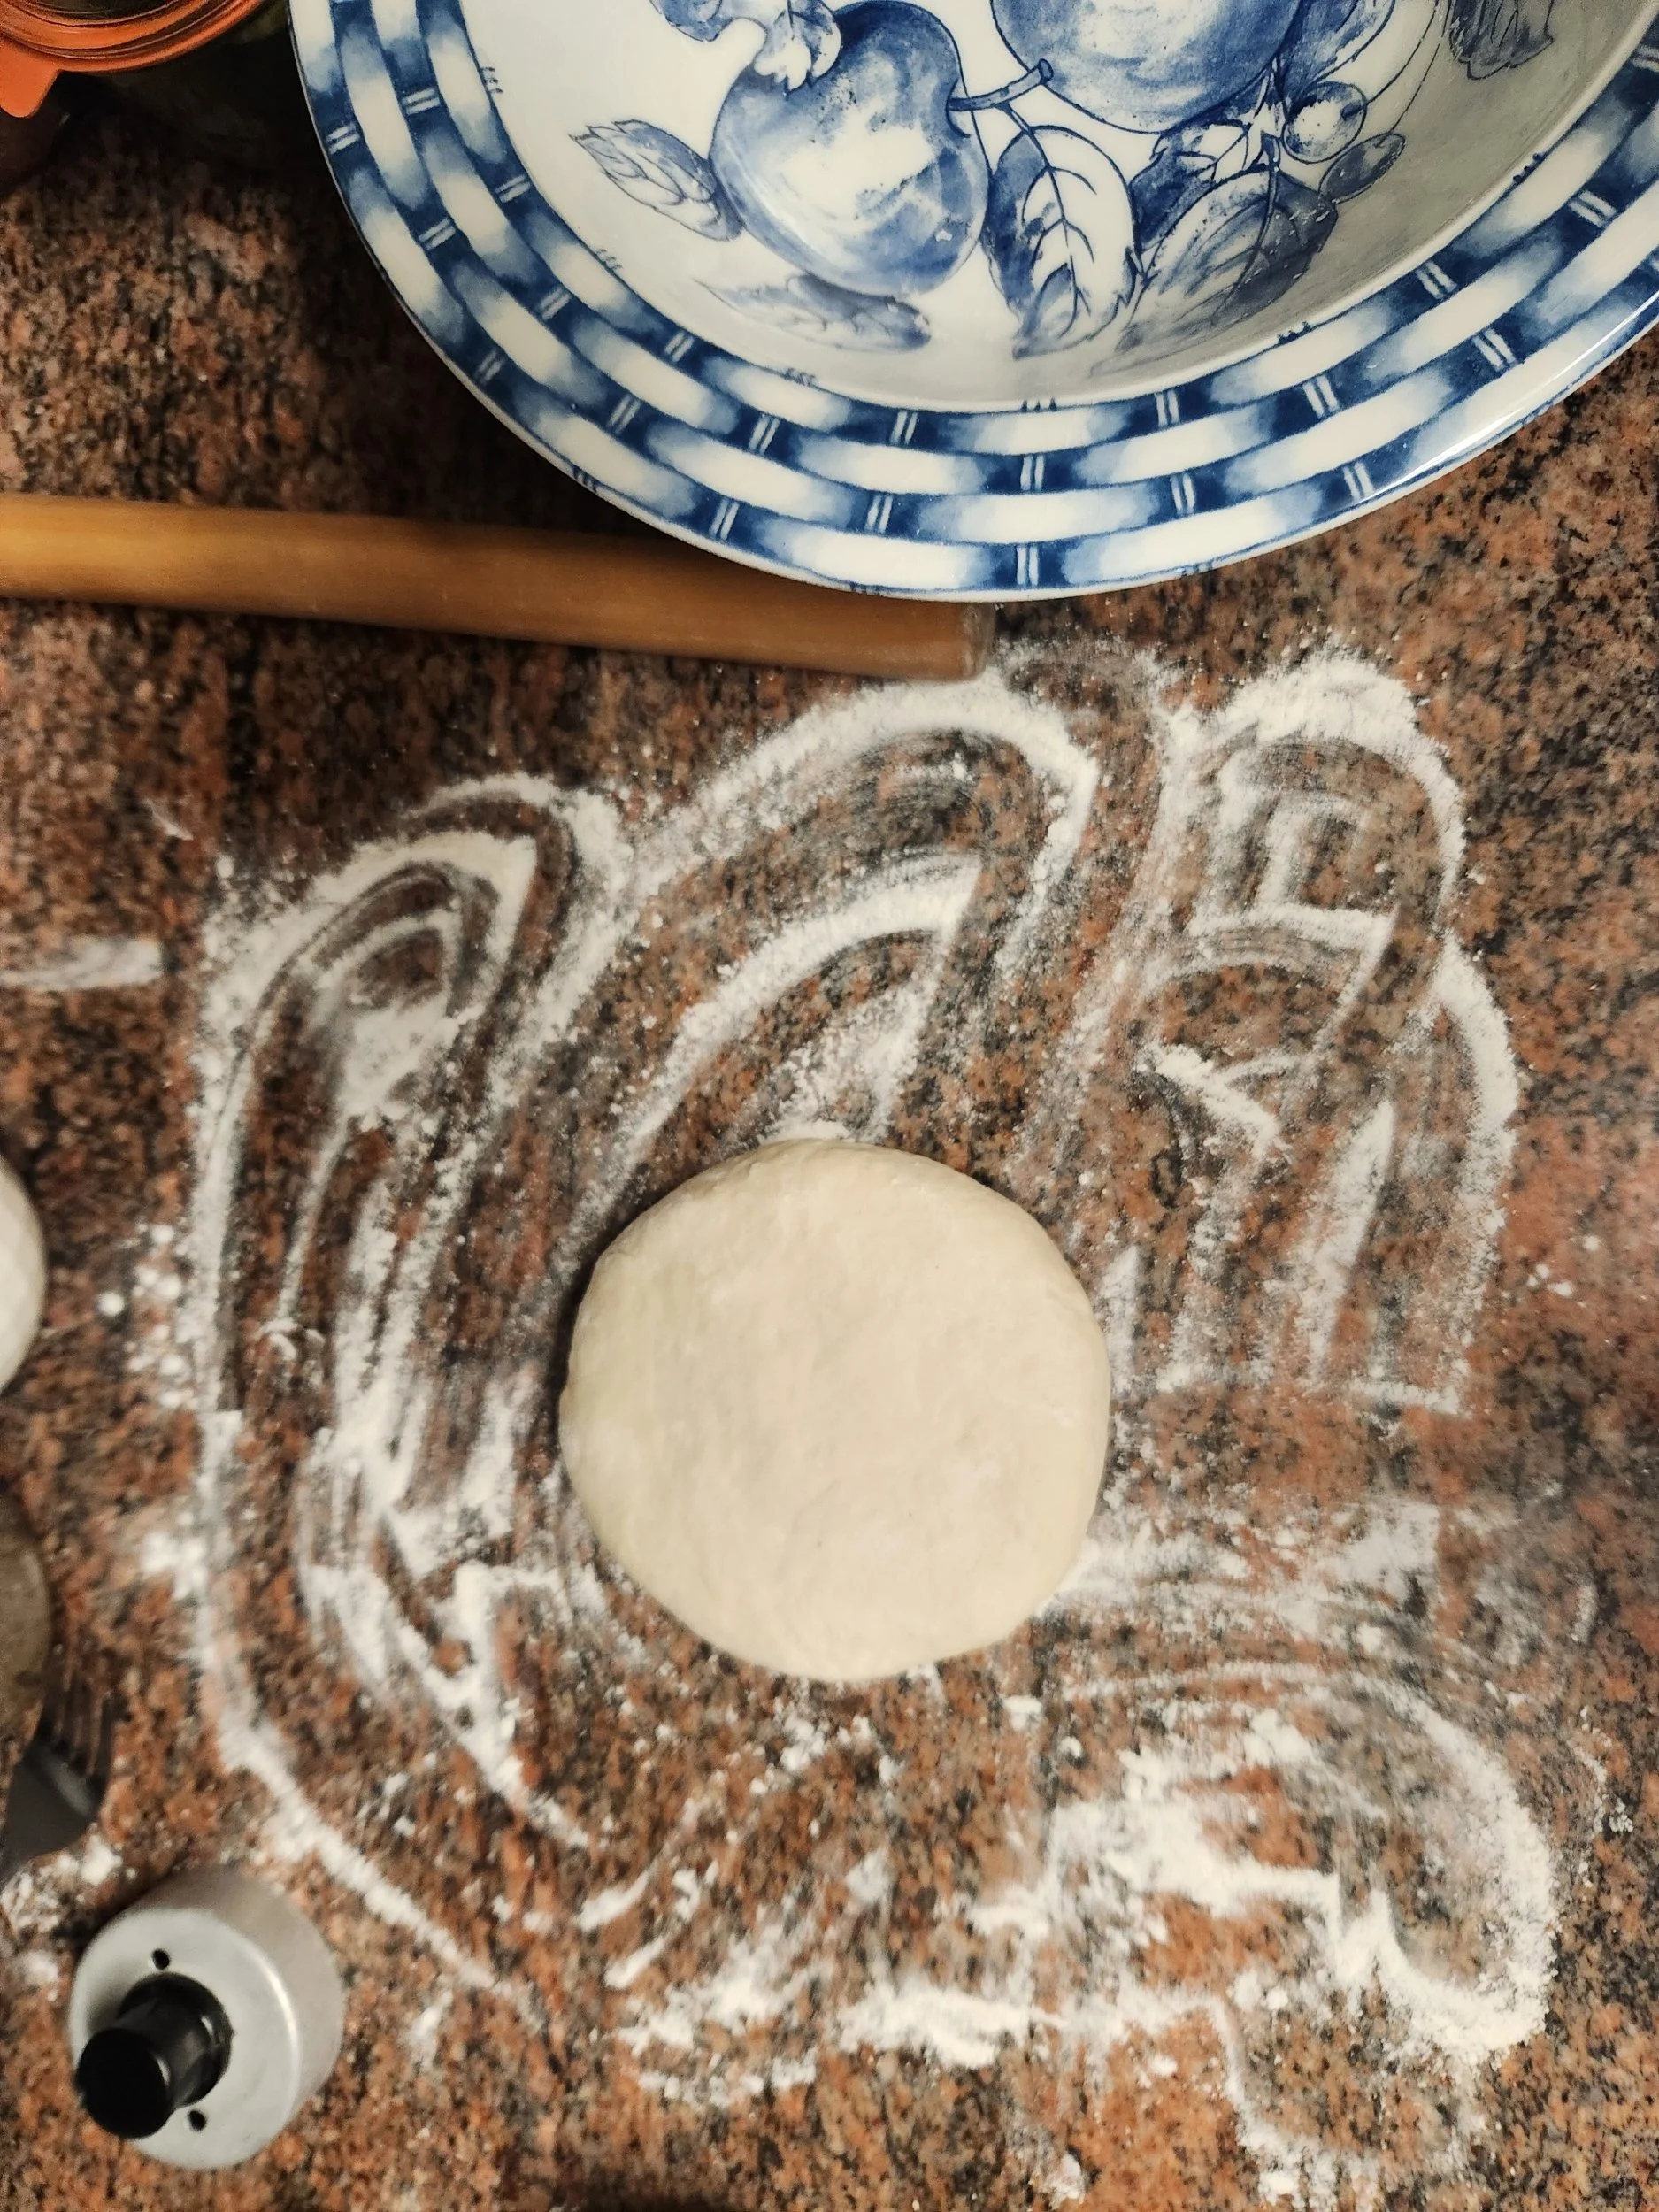
It’s flattened out now. You can see that this is a solid amount of flour for the rolling. It wants that, or will stick to your counter/board/however you do things.
That little doodad at the bottom left is a donut cutter. I use it for donuts, sometimes, but mostly for cookies, scones, and biscuits. The center hole punch is removable (and was removed), and I used it to make the oyster crackers. The fork above the cutter is for poking holes in your tack and crackers so they don’t rise.
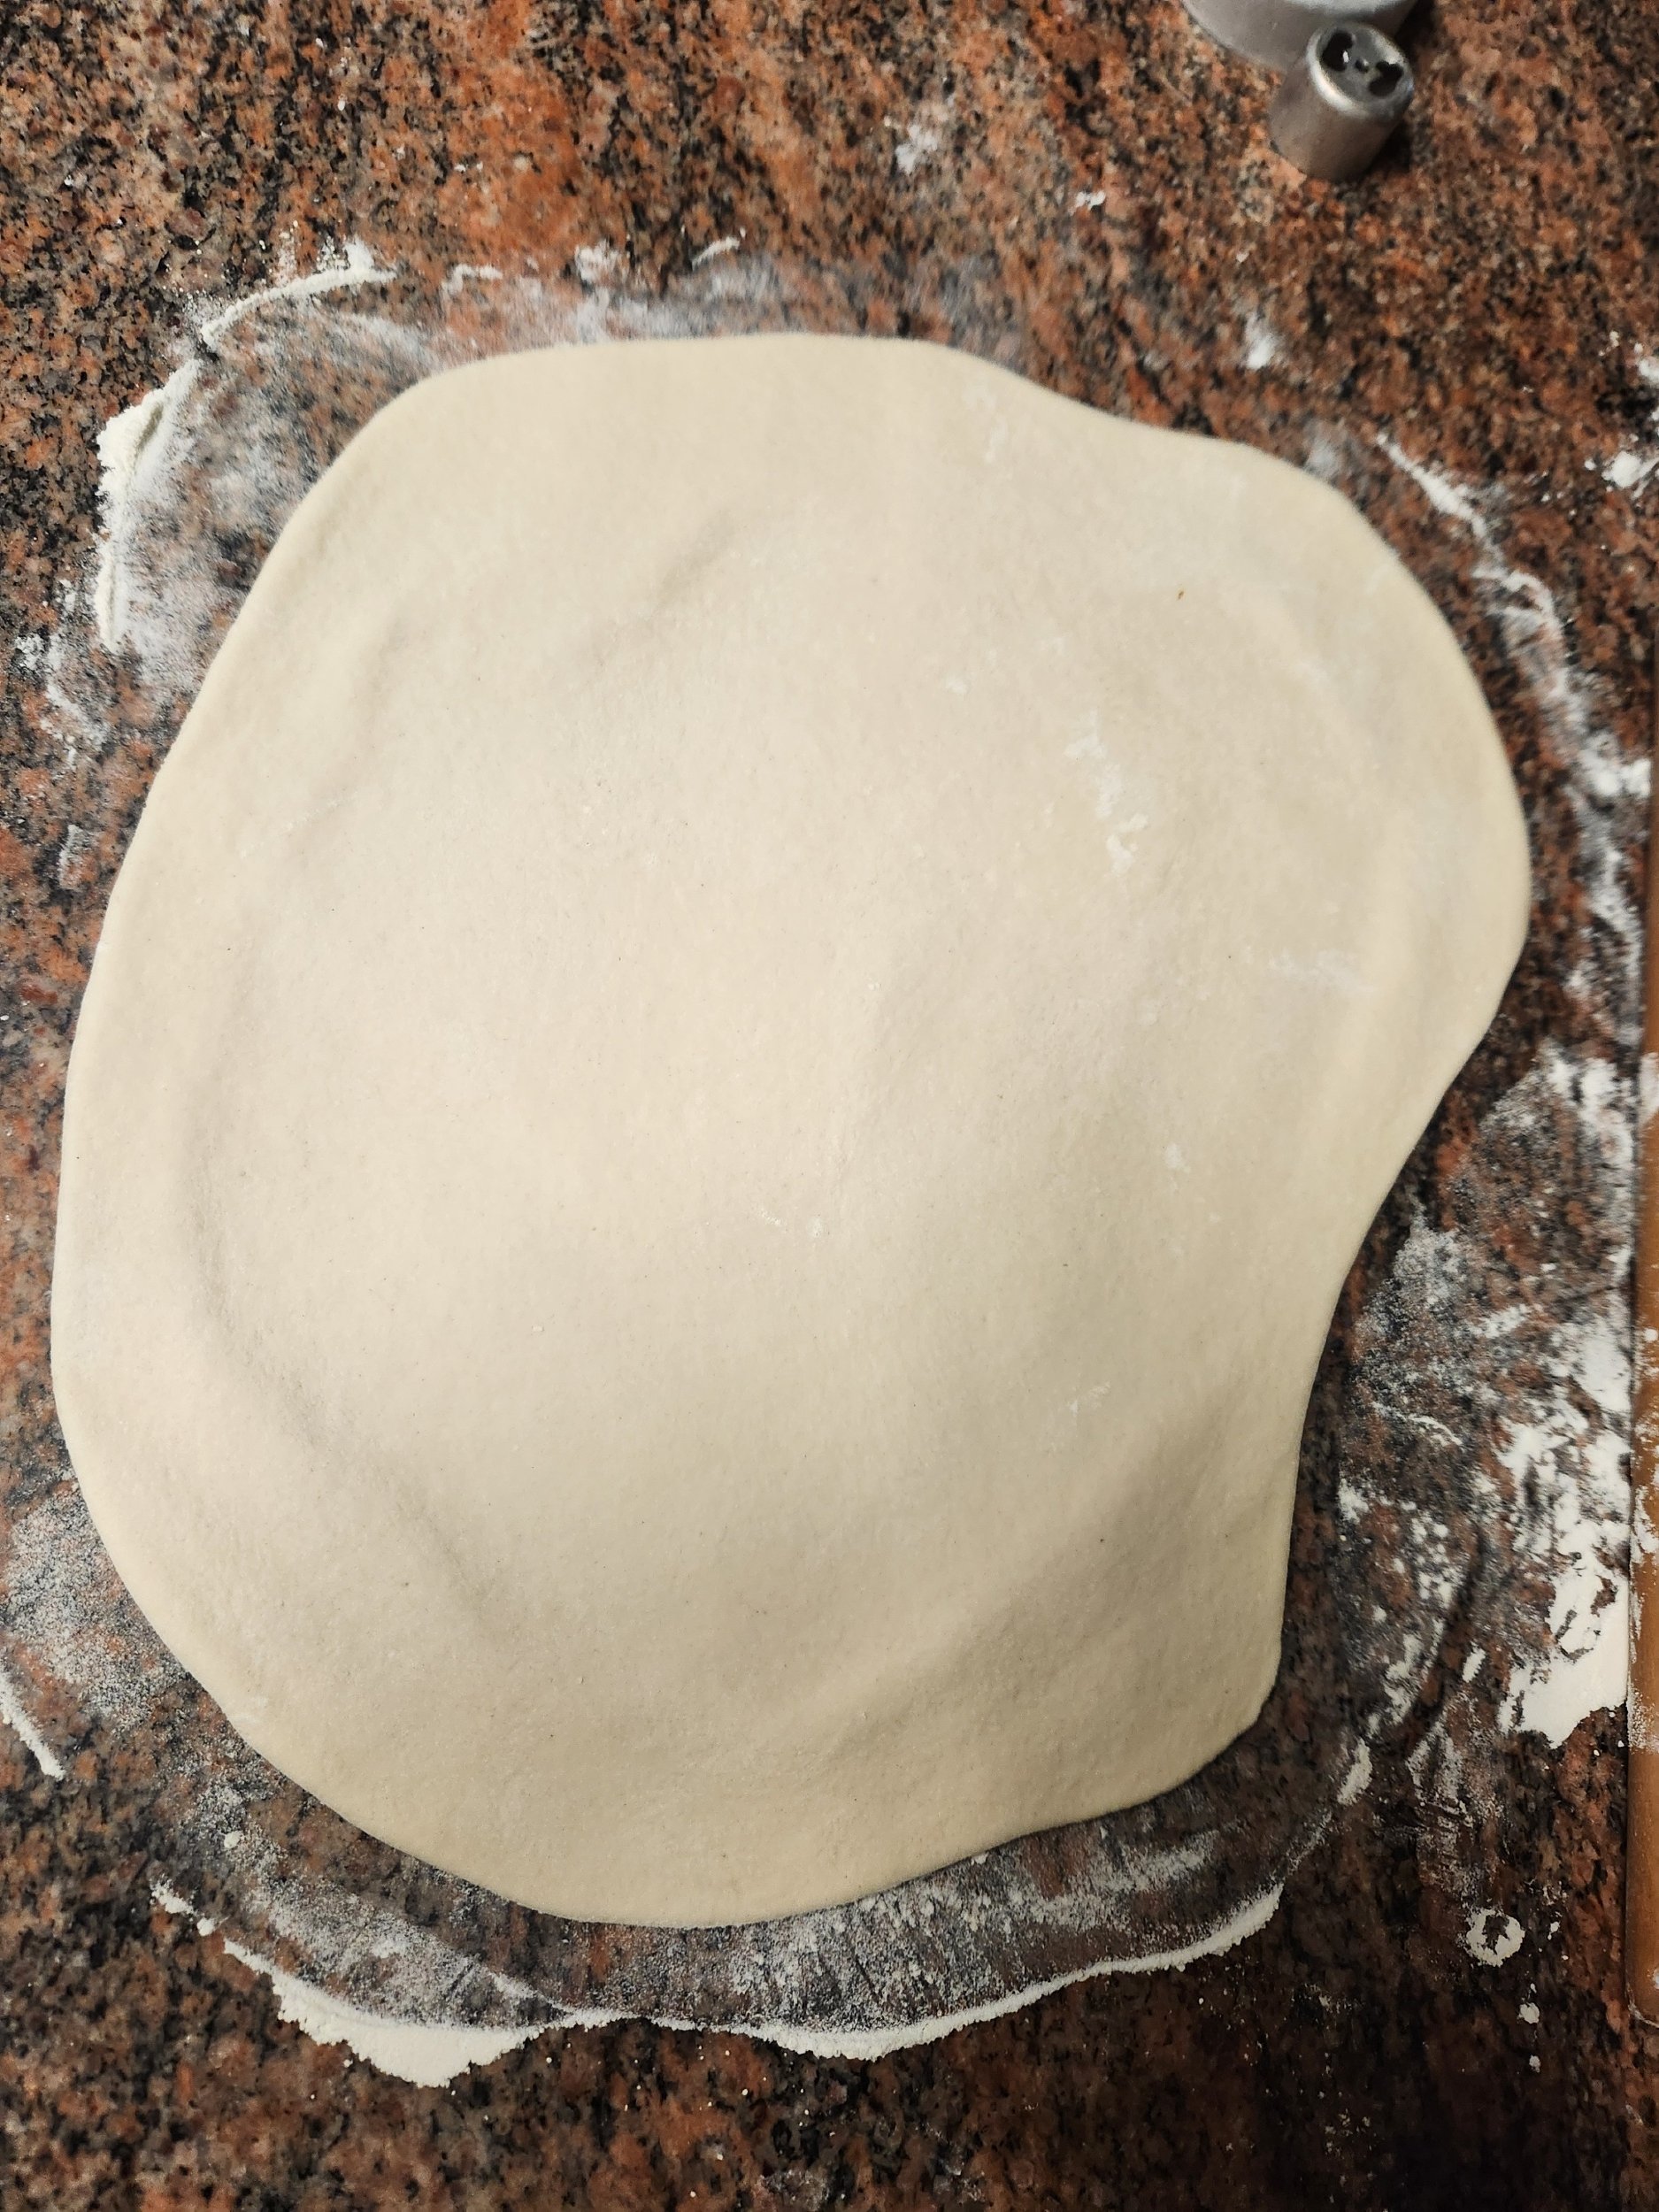
Roll it out. You can do this as thick or as thin as you’d like, but I think people generally make them somewhere in the ¼ - ½ inch range (6.3mm - 1.27cm/12.7mm). I did most of mine at about 1/4”.
This was far from my first batch, so my focus was a little heavier on the oyster crackers Ross was eating at the same rate I was baking them.
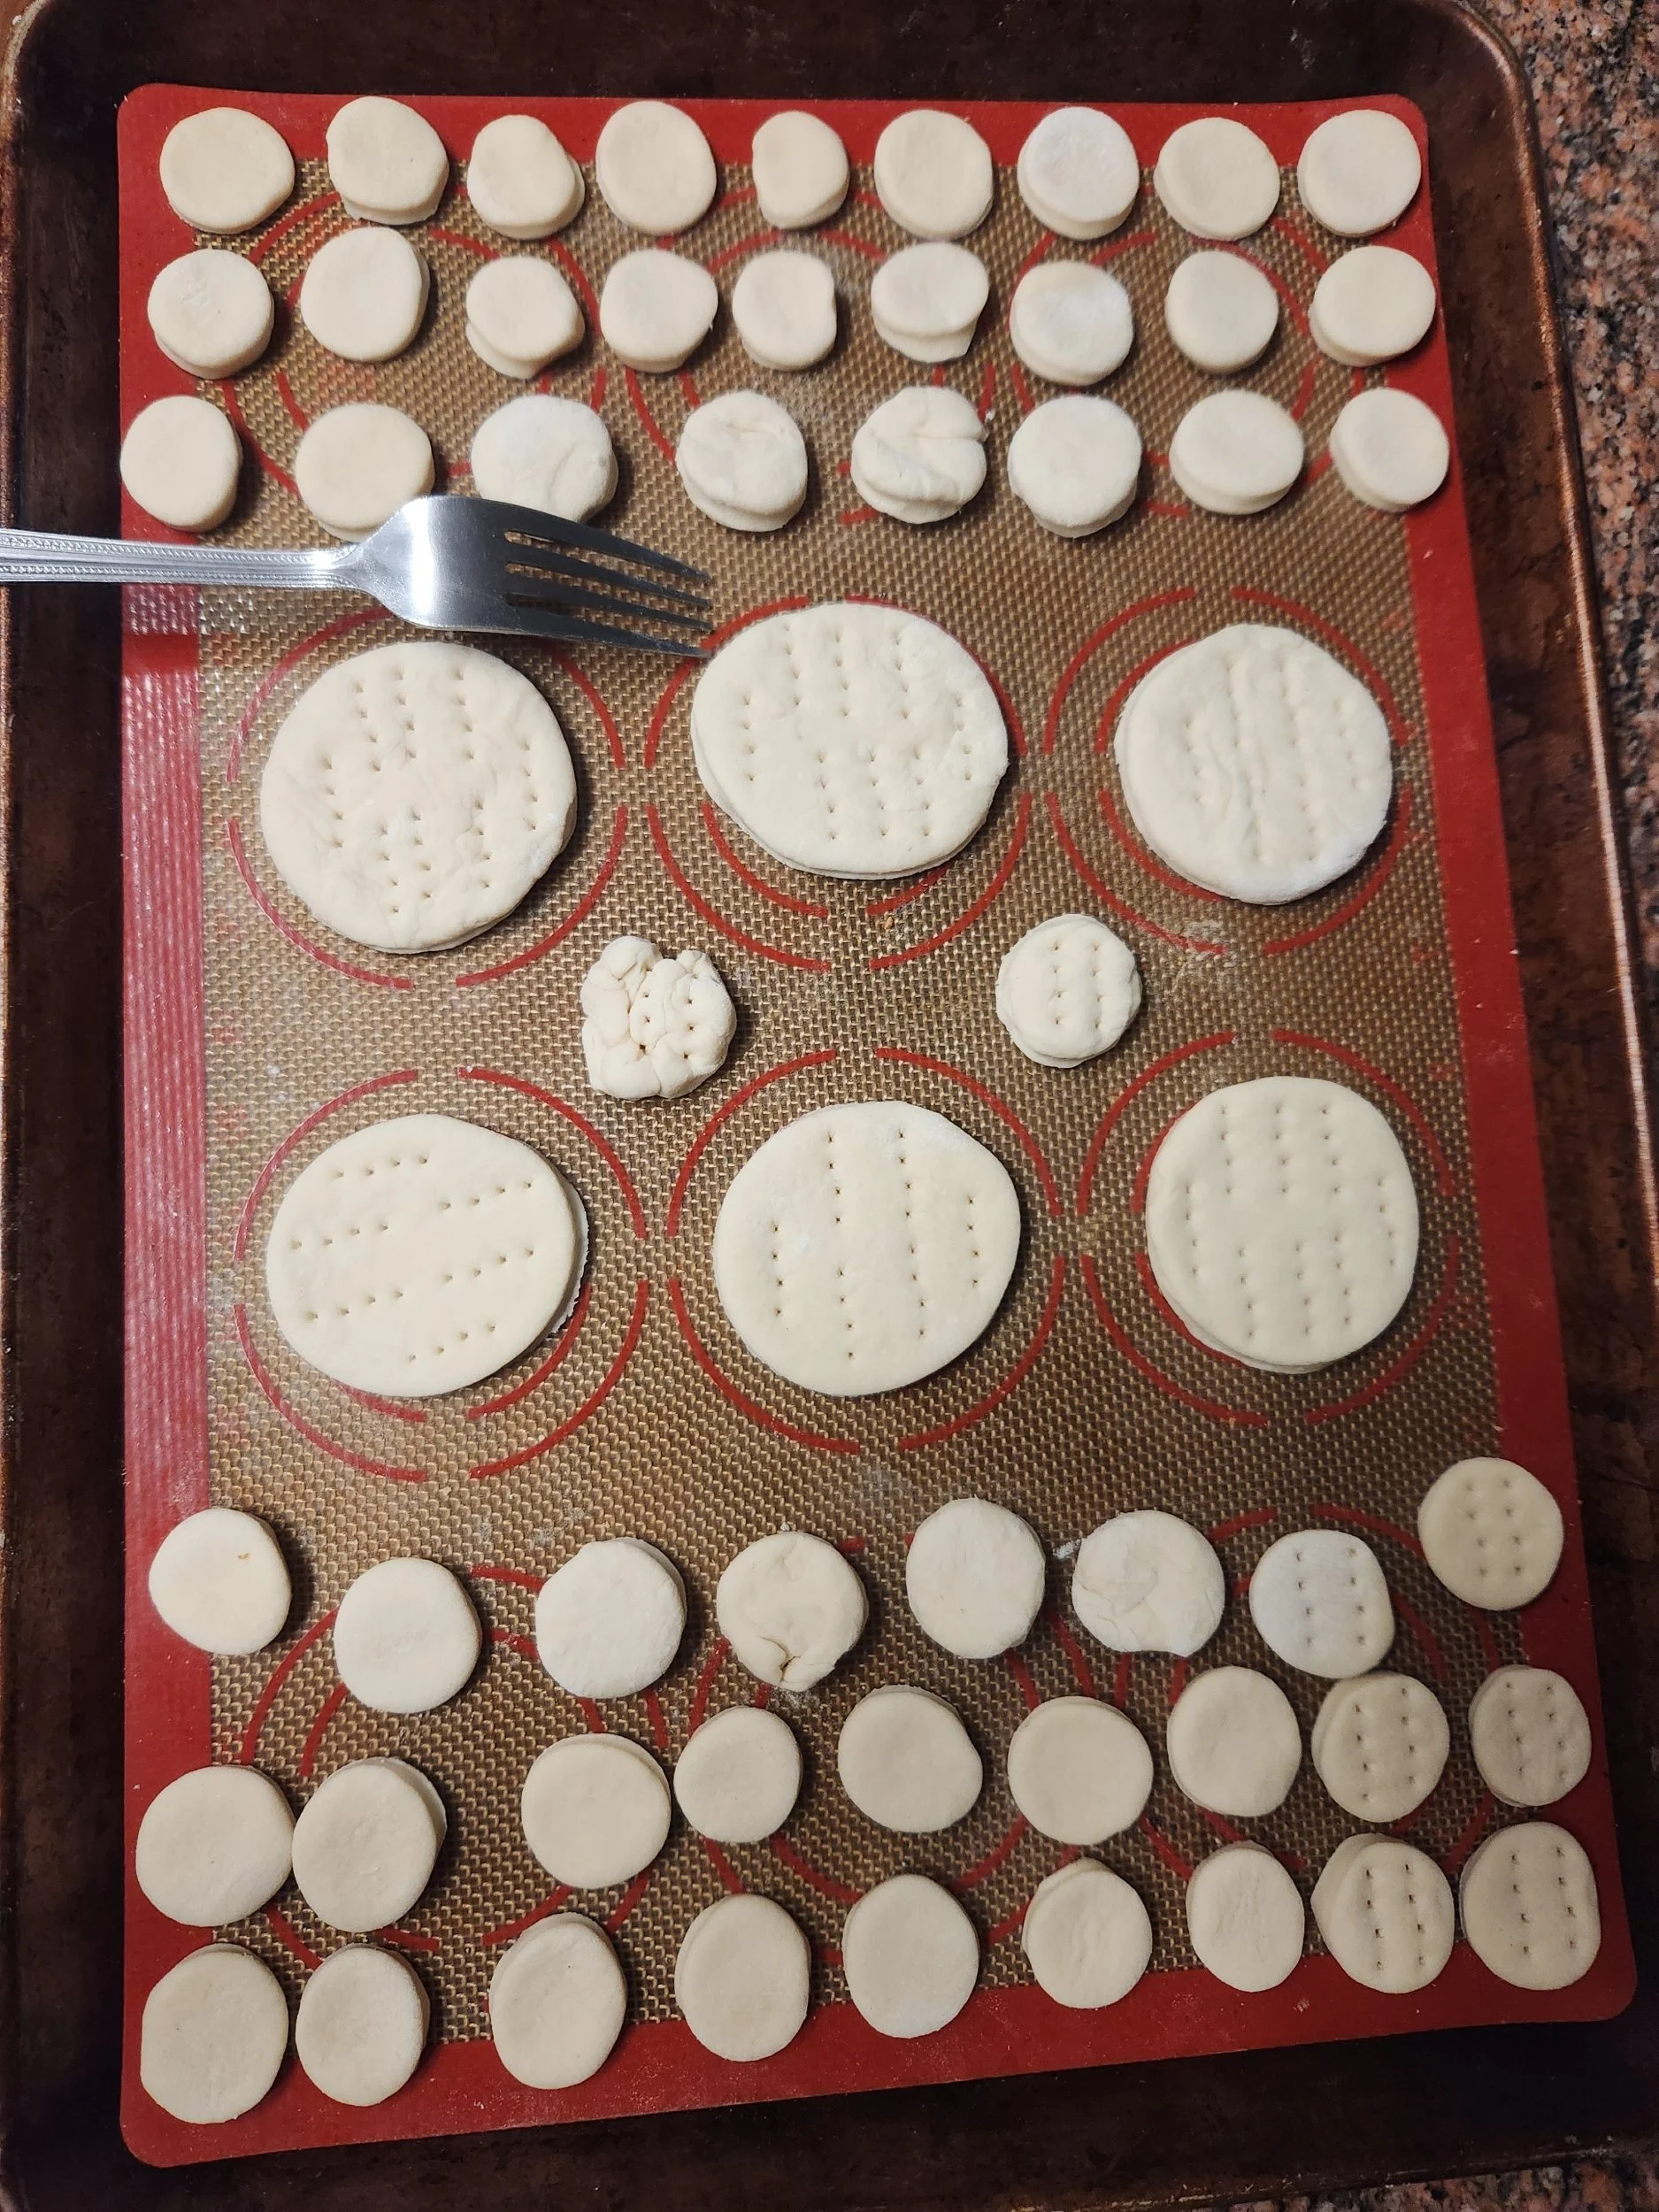
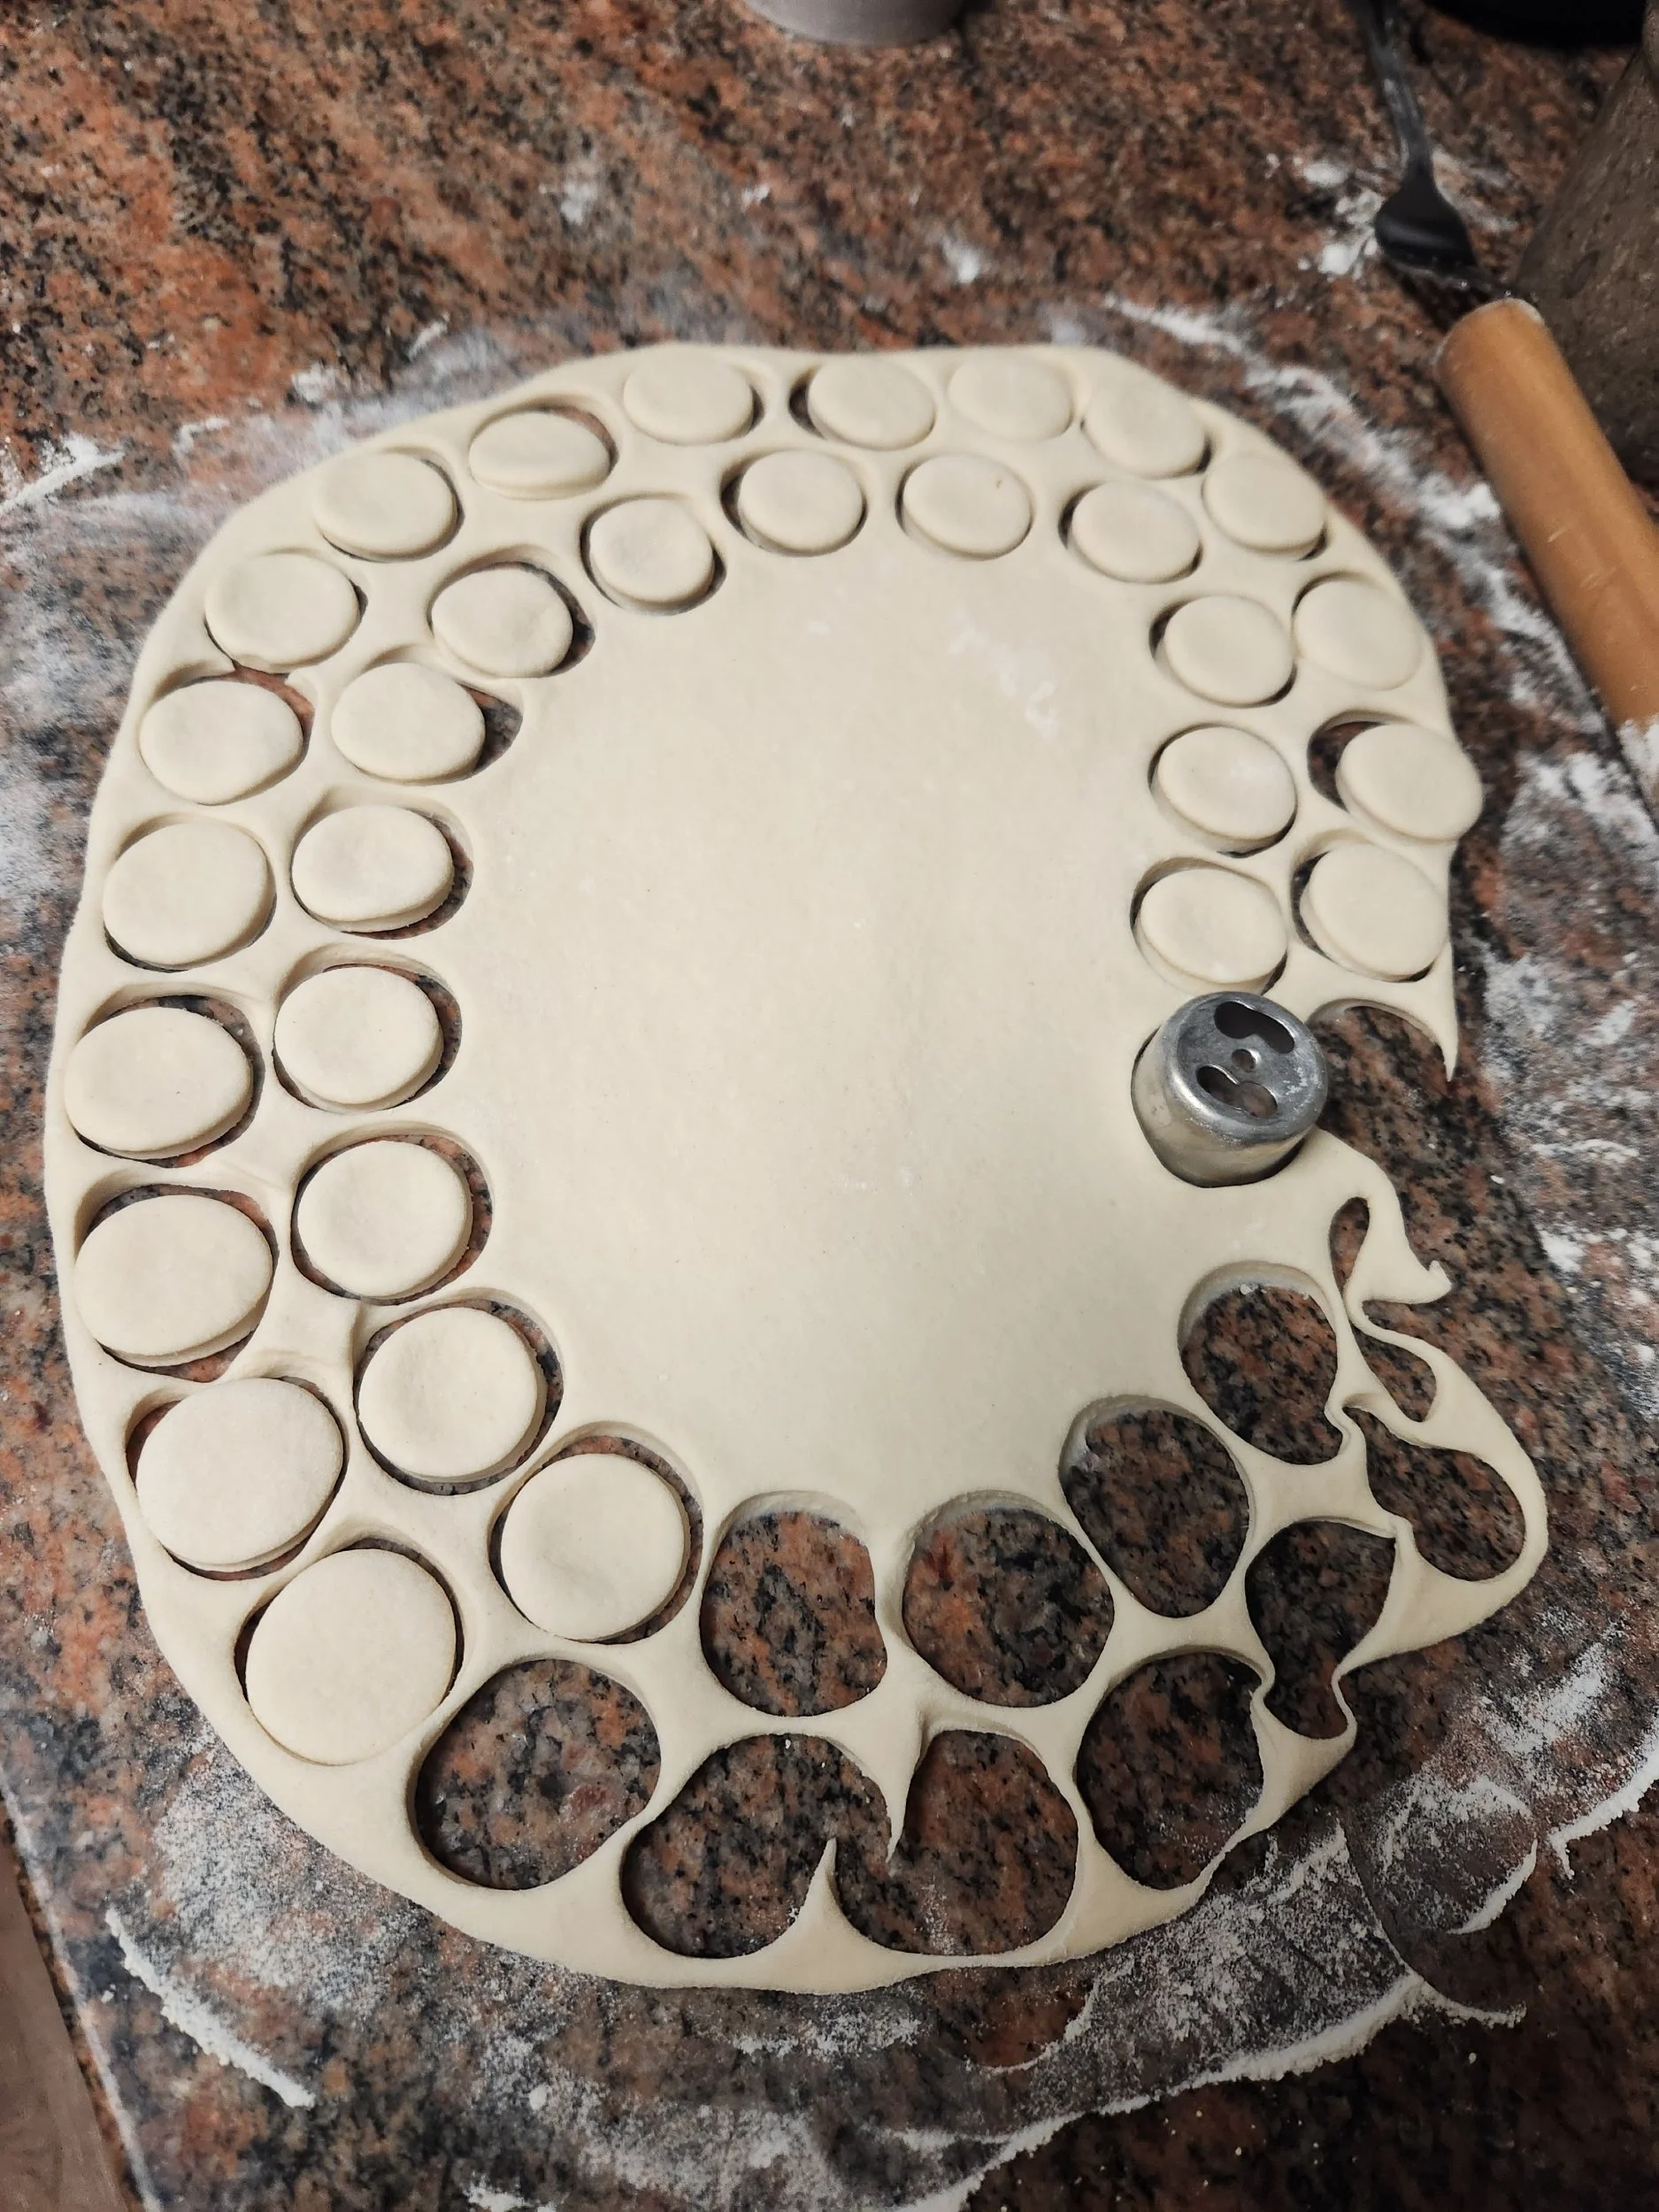
As you can see, I rerolled the scraps over and over until I was out of dough. That one super deformed one was the last of the dough. Make sure you poke some holes in your crackers and biscuits! That’s called “docking.” You legit do not want these to rise, even though the crackers will rise anyway.
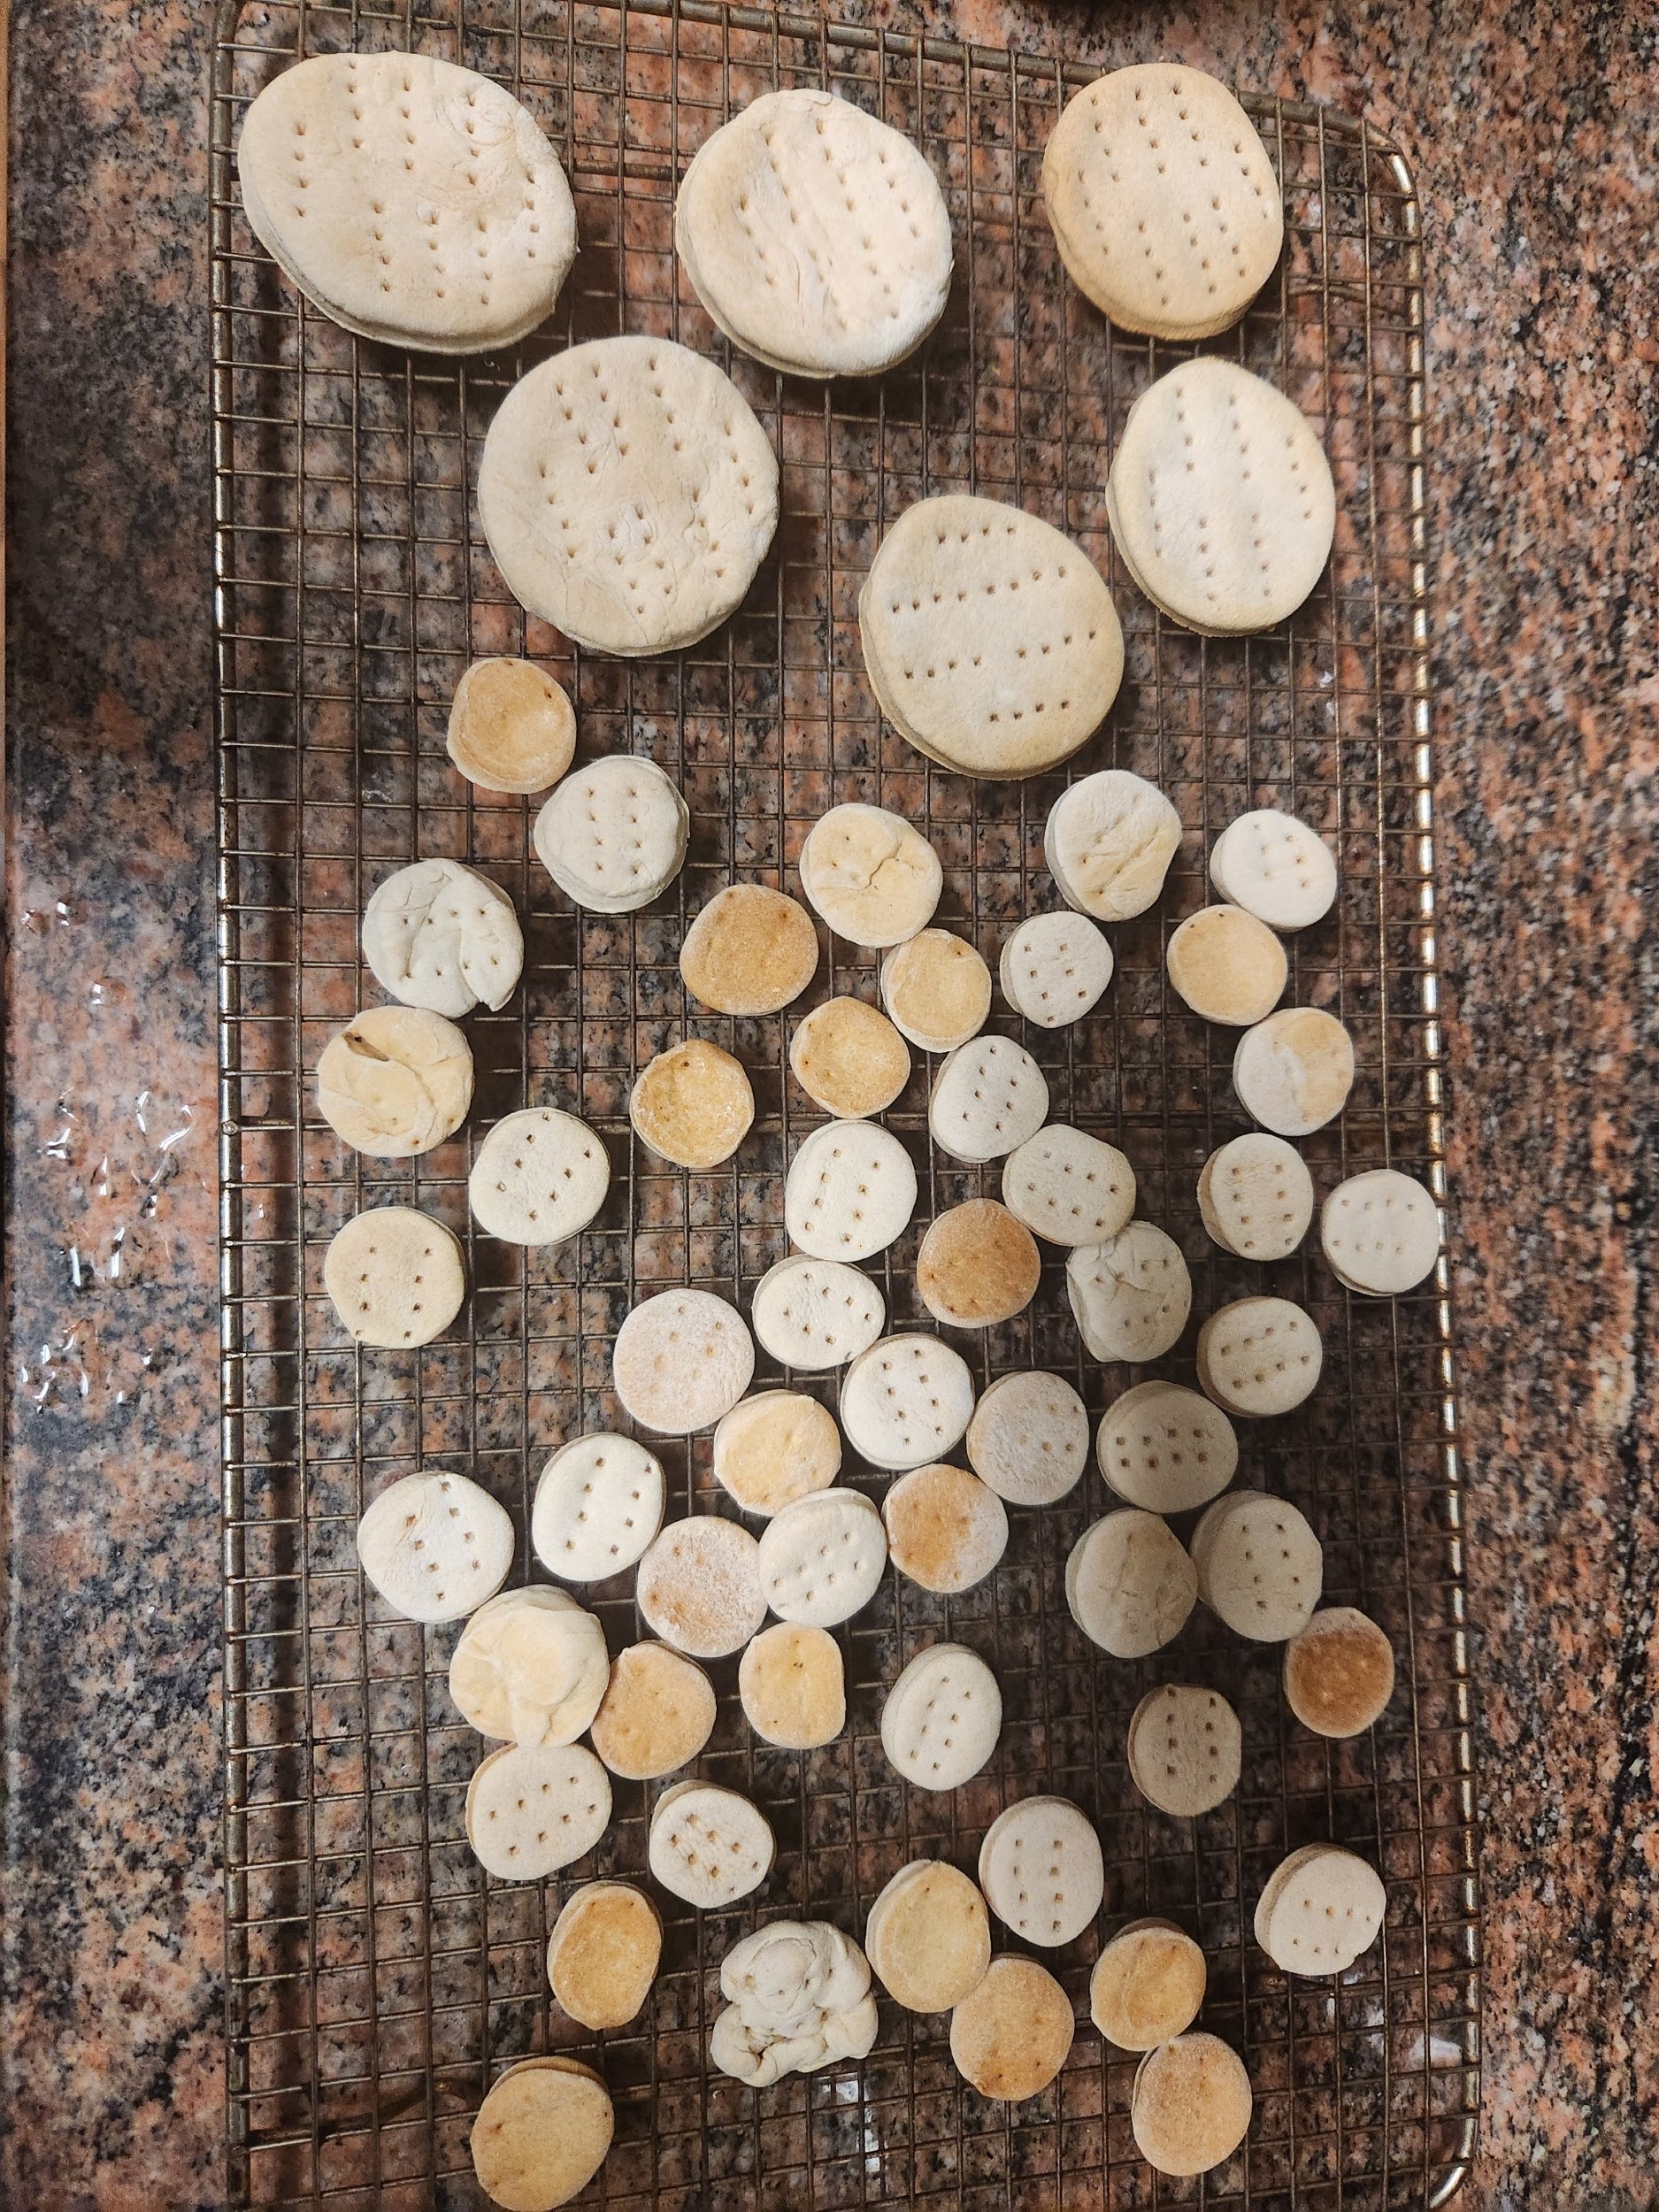
Bake the crackers for about 30 minutes at 300F/150C. Biscuits/Tack require about an hour or so. You can play with the temps and times to figure out what works best for you. Of paramount importance is that the tack itself is legitimately baked before you pull it. It can be a bit soft while still hot, as the biscuits will harden further during cooling.
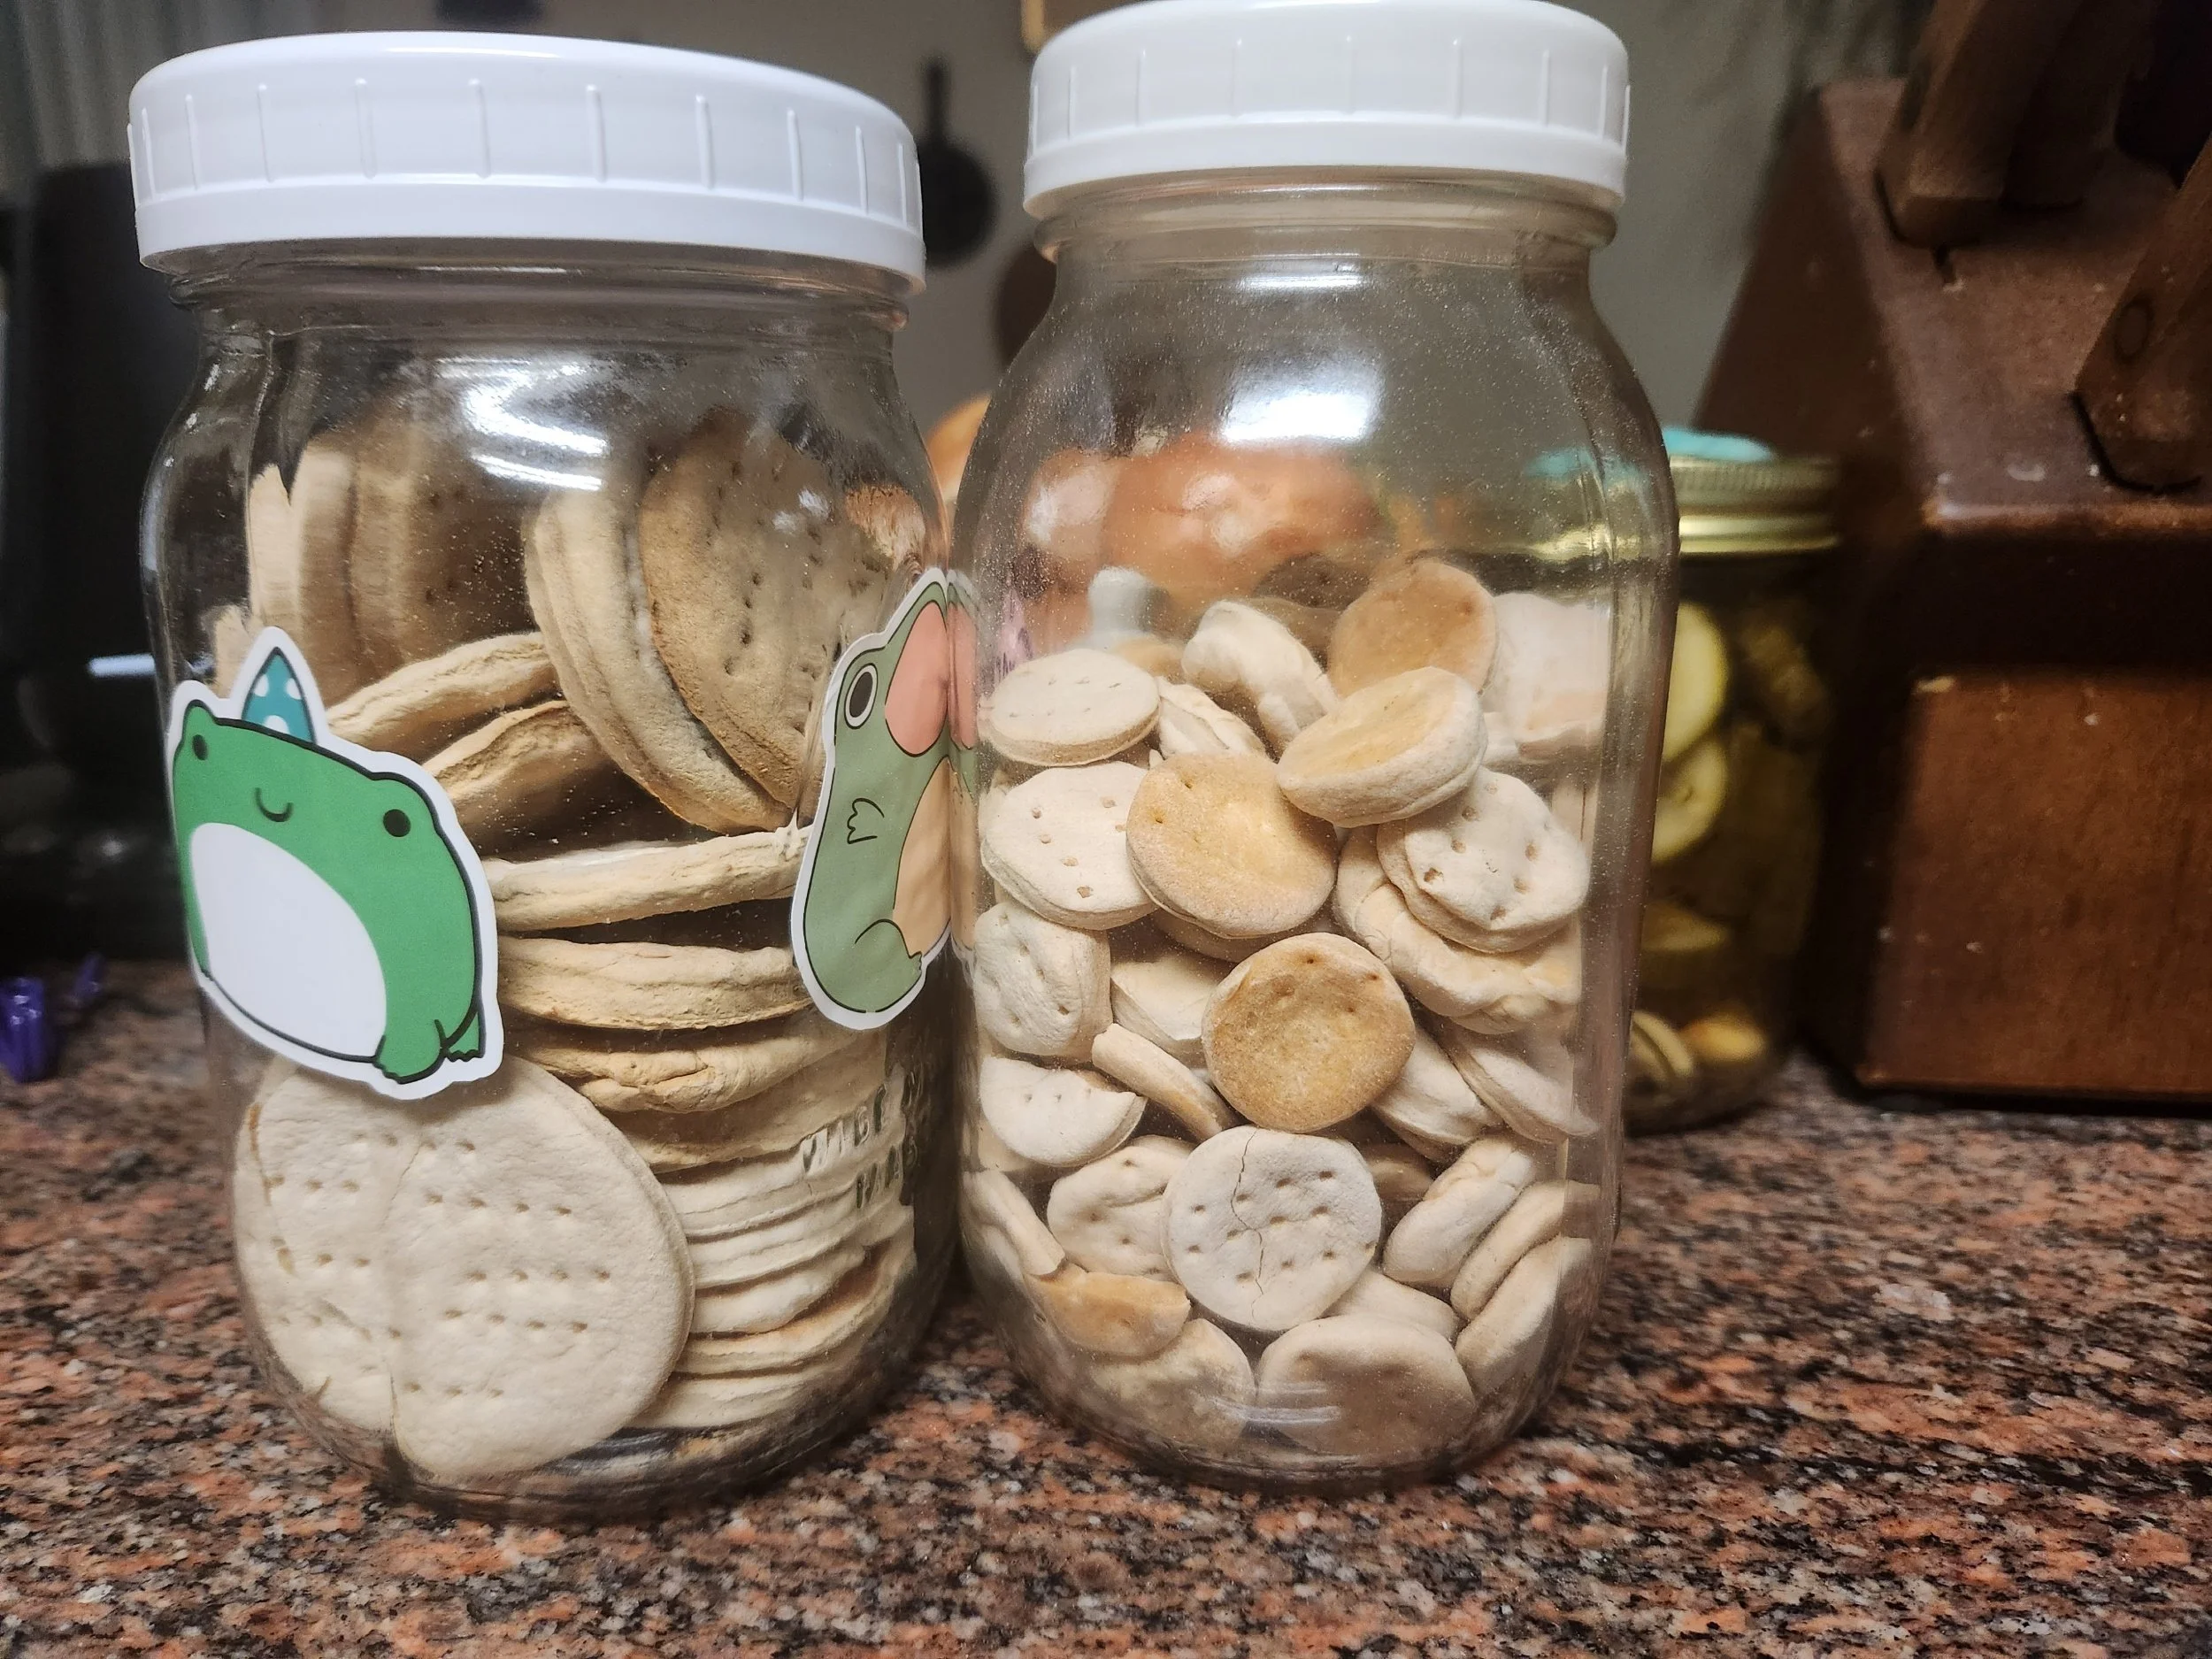
The ones at the top of the left jar are the new hard tacks/ship’s biscuits. You can tell I just wanted to fill the jar and then stop completely, other than making more oyster crackers as needed.
Recipes!!
I’m a little ashamed of just how long I’ve had a browser full of tabs for these recipes for y’all. Ross and Child Tester are right that it can make sorting out what you’re actually doing in the browser a bit more challenging! But! Recipes matter, and especially for people who are not super into experiments like I am.
Roman soldiers ate a type of hard tack called buccillatum, which used spelt. If you’re a spelt lover, then you’ve already got what you need! If you’re not into spelt or otherwise don’t feel like spending money on yet another flour, use what you want. It should be noted that this style of preparation contains lard/animal fat and a fair bit more water. That likely should result in a dough that’s easier to handle but takes longer to bake.
If you’re interested in a specifically American history of hard tack, here’s a fun link that offers that, a recipe (again, different ratios), and a recipe for how to cook it into something similar to matzo brei or migas.
Those of you who love Max Miller’s Tasting History may already know about his version of hard tack (and hellfire stew), so I’m sure you’ll be thrilled to see its inclusion here!
The U.S. National Parks Service has also written up a bit of a Civil War history of hard tack and its uses, and this not only includes descriptions of various Civil War era recipes such as lobscouse and other fun sounding tack-related dishes! For me, I think the descriptions of the methods basically tell you what to do, but they also include recipes for both tack and Johnny cakes. For you history teachers, this is written as a good handout with discussion questions to use with your Civil War units.
Fan of Instructables? We’ve got one for you, too! This one features less water than most other recipes. This does cut down on baking time (often important for people who’re trying to mitigate utility bills), but also requires a bit more muscle to roll out.
This Civil War forum has recipes for period-appropriate foods made from hard tack, plus other period appropriate recipes. As is normal in forums, the conversation frequently veers off of the tack, but brings in gold medal inclusions for those of you interested in Civil War era foods. Also a great resource for you educators!
Wrapping Up
Whether this topic interests you from a reenactment, prepper, need something to do, educational, extreme boredom, or other standpoint, I hope this breaks down the process into easy parts and that y’all enjoy your hard tacks! Please let me know if you do make some of these ship’s biscuits, or anything you see going on in the links (other recipes for tack and stuff to do with them) what your experience is like!
—Allie
Our San Francisco “Fisherman’s Wharf” Sourdough Starter captures the unmistakable character of the famous sourdough breads that have made San Francisco baking legendary. Known for its lively fermentation and classic tangy flavor, this starter produces loaves with the signature taste many people associate with the city’s historic bakeries.
San Francisco sourdough has long been celebrated for its unique flavor profile, shaped by the coastal climate and traditional fermentation methods used by generations of bakers. This starter brings that same spirit into your kitchen, delivering the bold, aromatic character that sourdough lovers recognize immediately.
The finished breads develop a beautifully balanced tang, with a chewy yet tender crumb and a crisp crust that makes every slice memorable. The flavor is vibrant and satisfying—perfect for rustic loaves, sandwich bread, and the classic sourdough boules that feel right at home on a soup-and-salad table.
Each bake evokes the experience of strolling along Fisherman’s Wharf, where the aroma of fresh sourdough fills the air and warm loaves are enjoyed with butter, chowder, or simply on their own.
Simple, lively, and full of West Coast character, this starter makes it easy to bring the spirit of San Francisco sourdough baking into your kitchen.
Expect:
• Classic San Francisco-style sourdough tang
• Perfect for boules, sandwich loaves, and artisan breads
Bold, nostalgic, and wonderfully flavorful, this starter produces sourdough breads that capture the iconic taste of San Francisco baking.
Our French Parisian Sourdough Starter is a true gem for any baker, originating from France and rooted in the rich bread traditions of Parisian bakeries. This lively culture produces beautifully balanced loaves with a mild yet distinct tartness and a delicate sweetness that lingers pleasantly on the finish.
During fermentation, the starter develops a wonderfully aromatic character that is perfect for classic French breads. It performs especially well in baguettes, country loaves, and rustic hearth breads, helping create that signature crisp crust and tender, flavorful crumb that French breads are known for.
The flavor profile is refined and balanced, allowing the natural flavor of the grain to shine while delivering just enough tang to give the bread depth and character. The result is a sourdough that feels elegant, traditional, and incredibly satisfying.
Reliable, lively, and full of heritage, this starter brings authentic French sourdough baking straight into your kitchen.
Expect:
• Mild yet distinct sourdough tang
• Delicate sweet finish
• Balanced flavor without harsh acidity
• Lively fermentation and dependable rise
• Excellent for baguettes and classic French breads
• Crisp crust with a tender, flavorful crumb
Elegant, aromatic, and beautifully balanced, this Parisian starter helps create sourdough breads worthy of a traditional French bakery.
Our Colorado Rocky Mountain Sourdough Starter captures the spirit of high-elevation baking with a flavor that is both lively and beautifully balanced. This culture produces loaves with a pleasant tang paired with a mellow, rounded depth, creating a sourdough that feels bold yet incredibly approachable.
During fermentation, the starter develops a complex aroma and flavor profile that reflects the rugged character of the Rocky Mountains. The sourness is bright but not overpowering, balanced by a smooth, mellow finish that makes every slice satisfying and easy to enjoy.
Active, reliable, and easy to work with, this starter performs wonderfully in rustic hearth loaves, sandwich breads, and long-fermented country breads. Whether you’re baking crusty artisan loaves or everyday bread for the table, it delivers consistent rise, flavor, and structure.
Inspired by the wild beauty of the Rockies, this starter brings a touch of mountain character to every loaf.
Expect:
• Balanced flavor with both tart and mellow notes
• Pleasant, approachable sourness
• Lively fermentation and dependable rise
• Complex aroma and flavor development
• Excellent for rustic loaves and everyday bread
• A well-rounded sourdough profile that isn’t overly sharp
Bright, balanced, and full of character, this Rocky Mountain starter brings a taste of high-country sourdough tradition straight into your kitchen.